Tester database
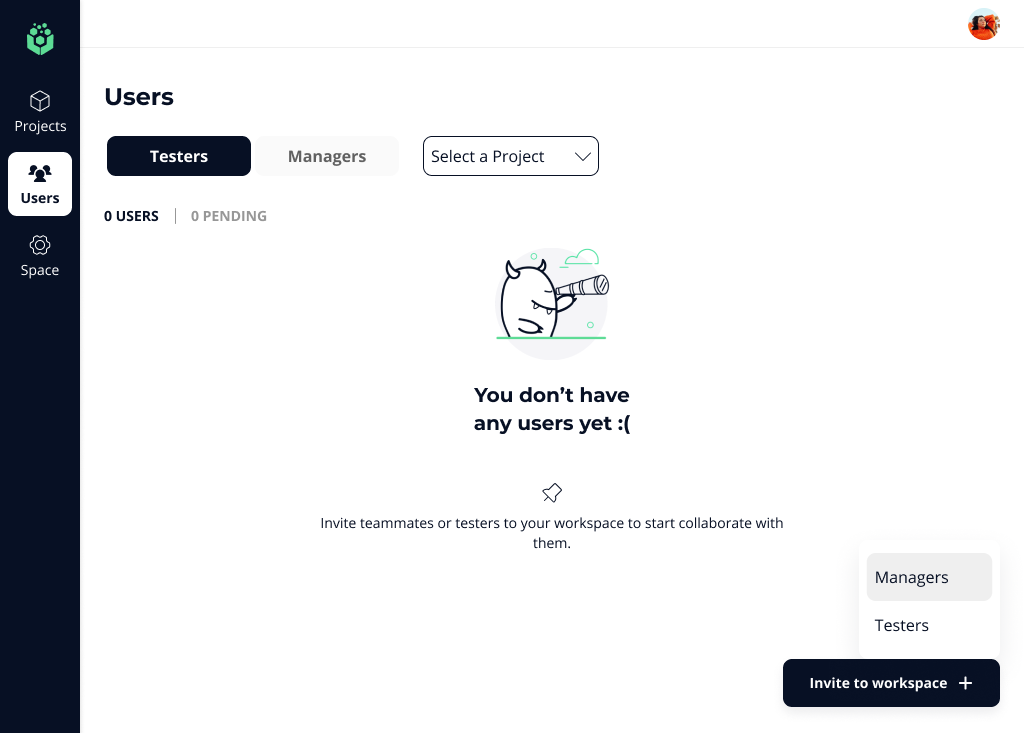
Inviting Testers to your workspace is easily done when creating your workspace or at any time. Your testers can be your customers, other colleagues in your organization (e.g. sales engineers), and your teammates! Testers can be invited to a workspace and they will not be able to see any beta until they are added to a beta. Testers can be invited from a beta directly which makes them part of the workspace as well.
Pro Tip - you can bulk upload your existing tester spreadsheet by filling the provided template and uploading it in .csv or .xlsx format.
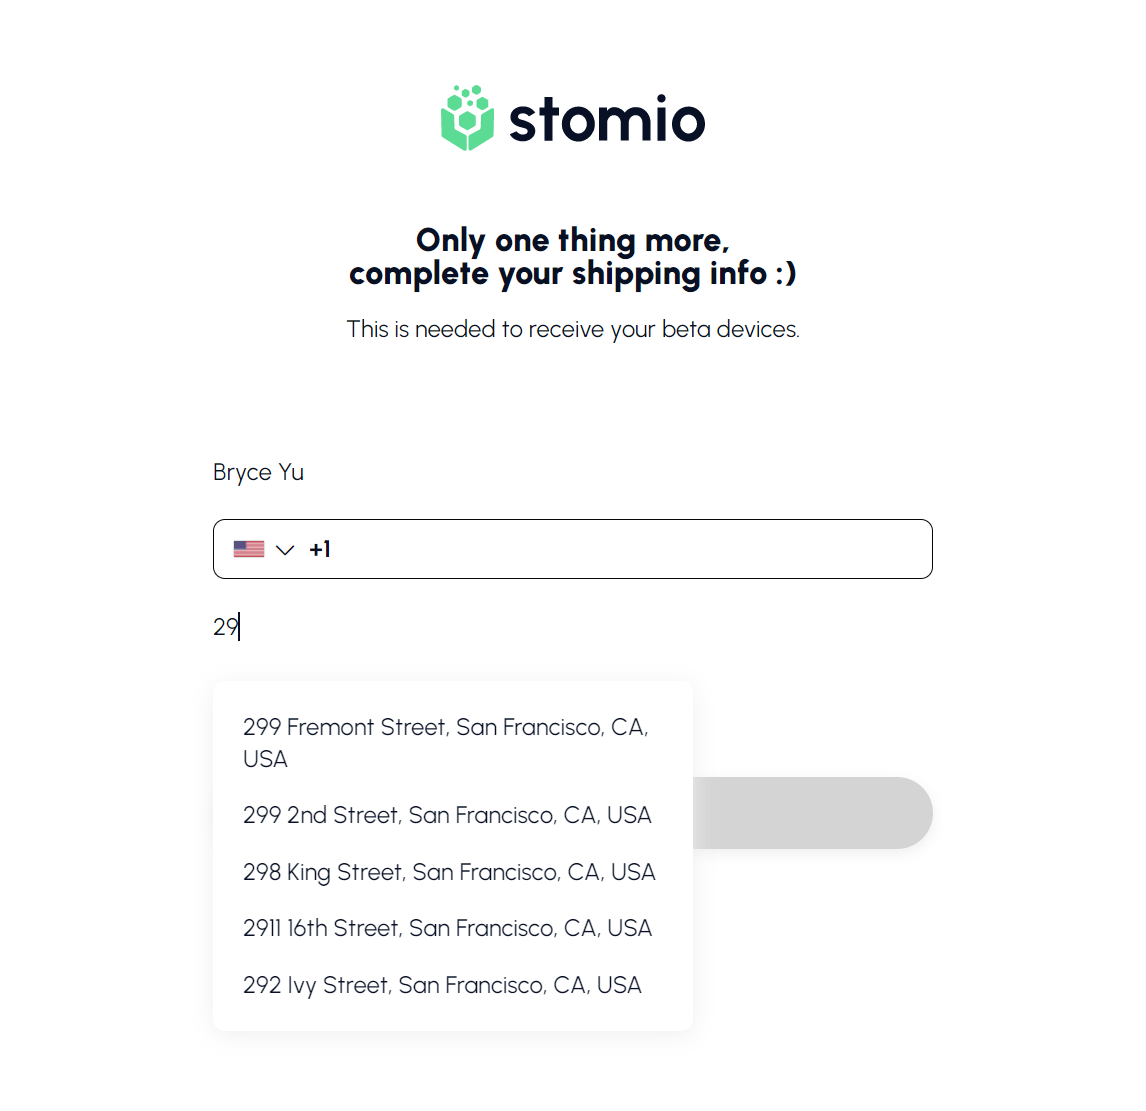
By default, Stomio collects basic information about each Tester: phone number, and shipping address in case you want to ship anything to them (e.g. swag as a reward). This information is required for all Testers to fill by default when they create their account.
Pro Tip - Stomio uses Google Geolocator to verify the shipping address entered by the user is a valid one. The search results are automatically updated as they start typing in their address.
Create a custom field
Adding a custom field to your Tester database is an admin only function. Under workspace settings, click on Custom Fields. You will be presented with a Tester database page with a button on the top-right titled: `Add field`.
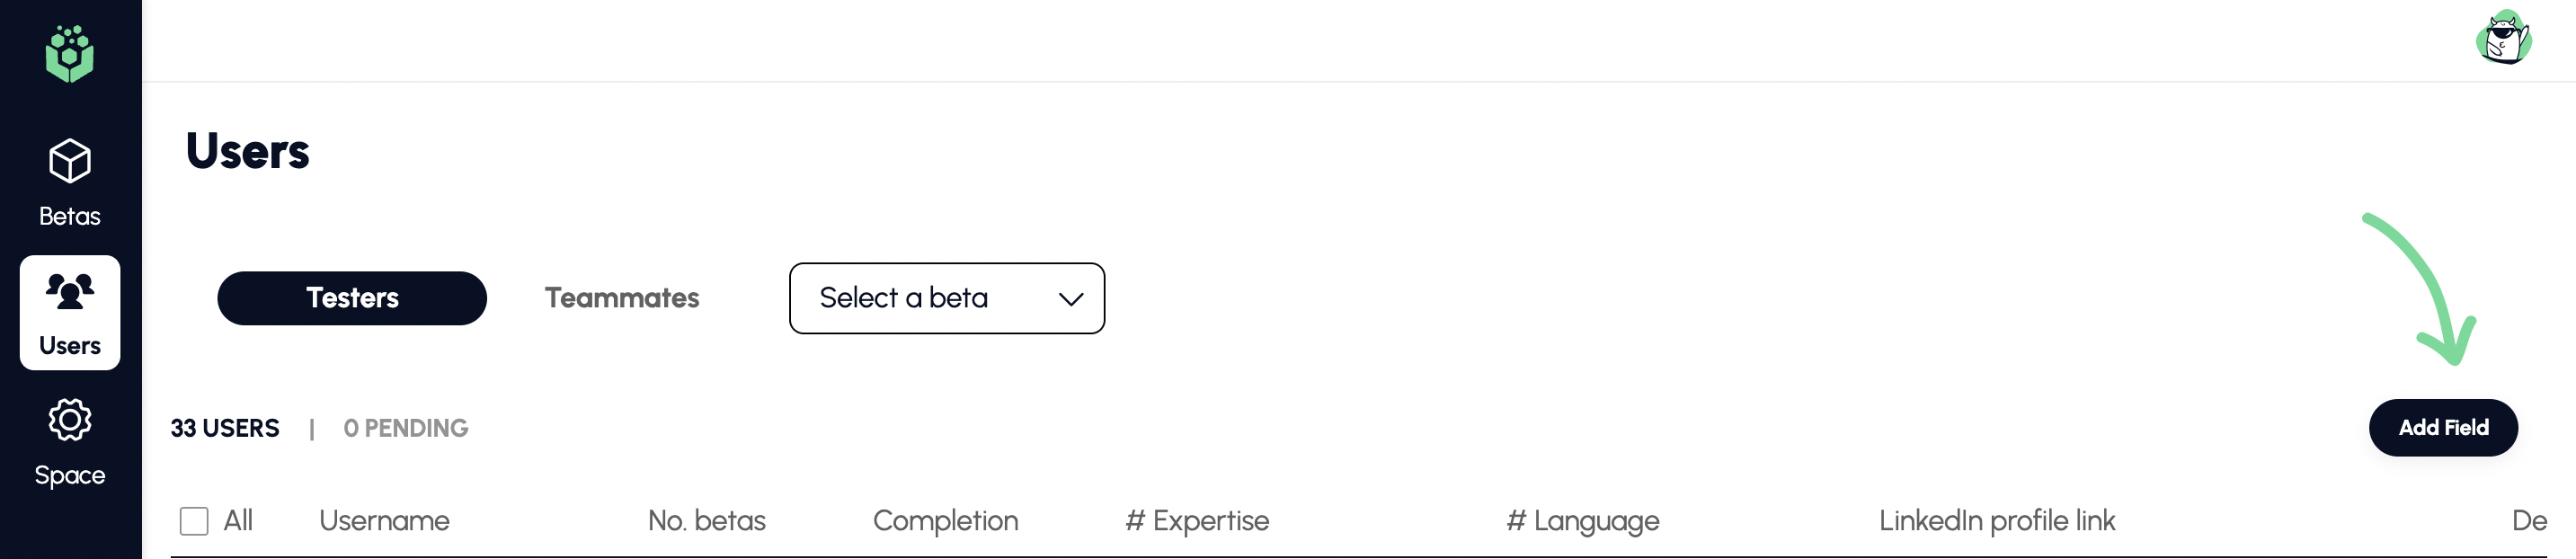
Clicking on `Add field` opens a popup with details needed to create a new field. Each custom field consists of following items:
Field Name
This is the name that will be displayed as a column header in your Tester database. The name is limited to 32 characters.

Tester filled
For each custom field you add, you can choose whether you want to add information about your Testers manually (e.g. internal information such as Account Representative) or ask your Testers to fill that information in a form of a question (e.g. what mobile OS they own iOS vs Android).
If you want your testers to fill in this field, simply click on the checkmark and you will be presented with another checkmark if you want this field to be mandatory or not and field to enter the question you want to ask your testers so they can properly provide this information.
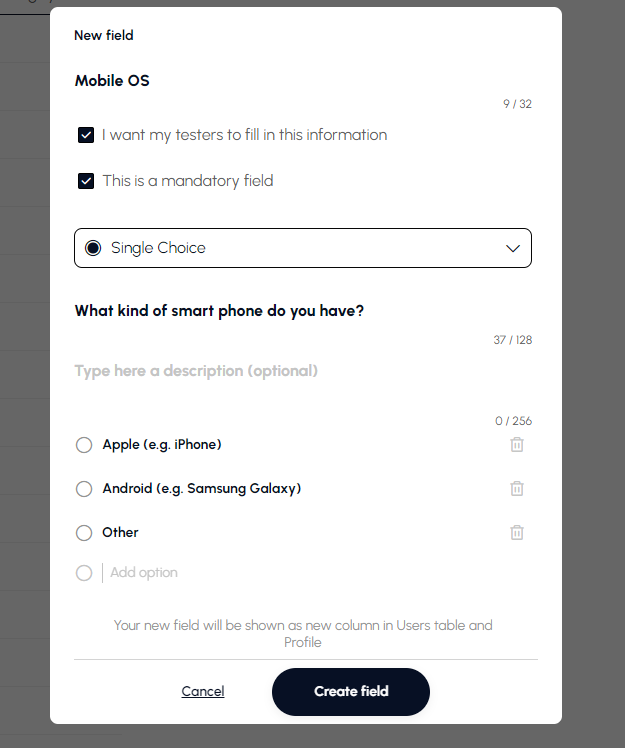
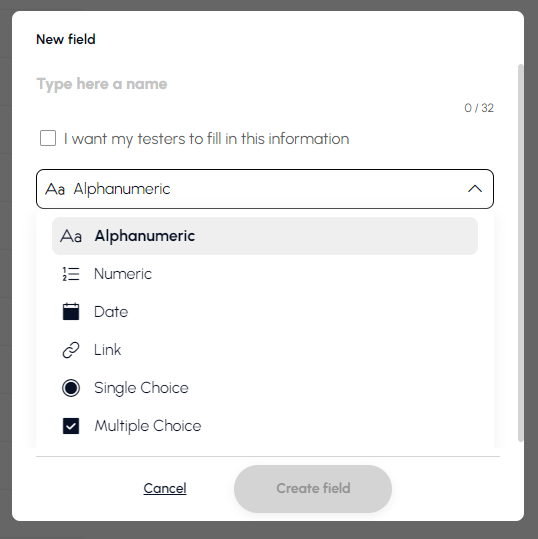
Field Type
There are multiple types of fields you can add to your Tester database. Each field will be a column in your Tester table and a field in the Tester user details
- Alphanumeric: regular text field
- Numeric: strictly numbers
- Date: useful if you want to capture a date about your Testers (e.g. when a Tester became a customer)
- Link: if you want to attach a link to the Tester profile
- Single Choice: create a dropdown list for your Testers you can quickly add (e.g. capture what type of mobile OS they run iOS or Android)
- Multiple Choice: similar to Single Choice but with a multi-selection
Customizing your tester database
After you create your custom fields, you can further customize your Tester database by performing any of the following operations:
· Move
You can move your columns and rearrange them in any way that suits your needs. To move a column, simply hover over the header, hover over and drag the column to where you want it to be then release.

Note: Username is a fixed column to the left and can’t be moved
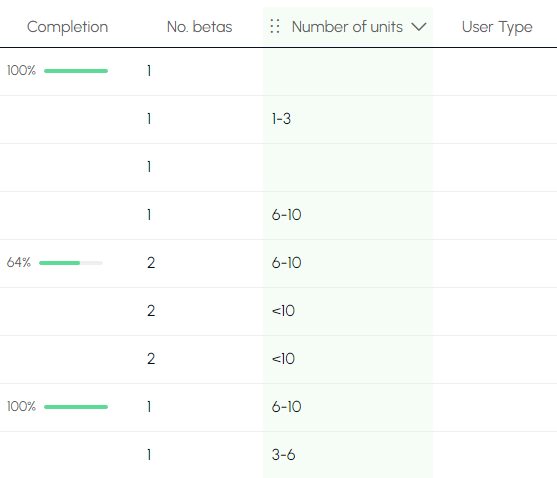
· Order
You can order the table by any field. Simply click on the header and you will start ordering the entire table in ascending or descending order.

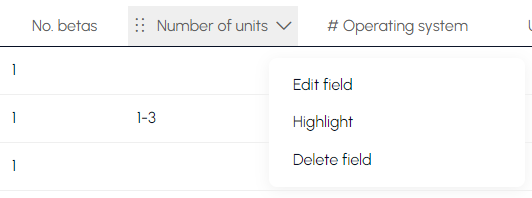
· Edit
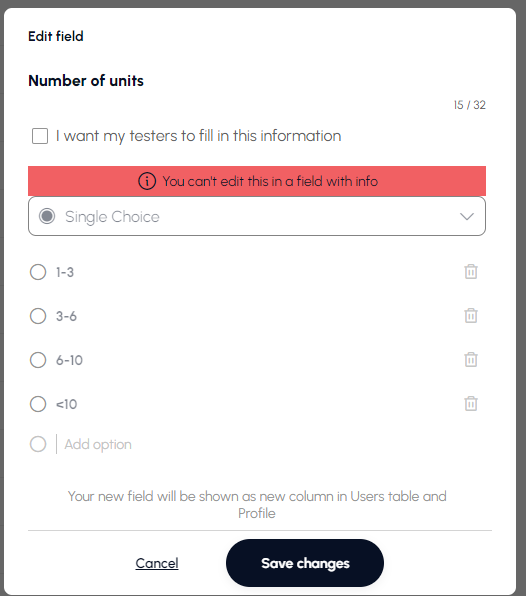
Sometimes you need to edit a custom field to change the name or the question you’re asking your testers (if a tester-filled field). For a custom field, when hovering over the field, you will see a dropdown arrow on the right side. Click on it then click `Edit`.
Note: you can't change the type of custom field once created. If you want to do so, delete the field and add a new one. If you change the options of a single/multiple choice custom field, you will lose all information in that field
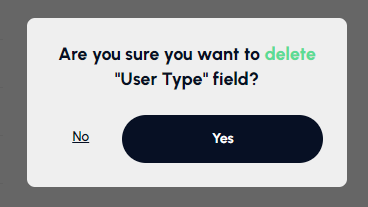
· Delete
Deleting a custom field is easy. Hover over the custom field, click on the down arrow icon to the right and select `Delete field`. You will be prompted to confirm the action given the impact on your workspace.
· Highlight
When you add a good number of custom fields, you might want to highlight one of them so they get more attention. You can highlight your custom field by hovering over the custom field, clicking on the down arrow icon to the right and select `Highlight`.