Create a Beta Project
1. Name the Project.
This name will be also visible to your testers.
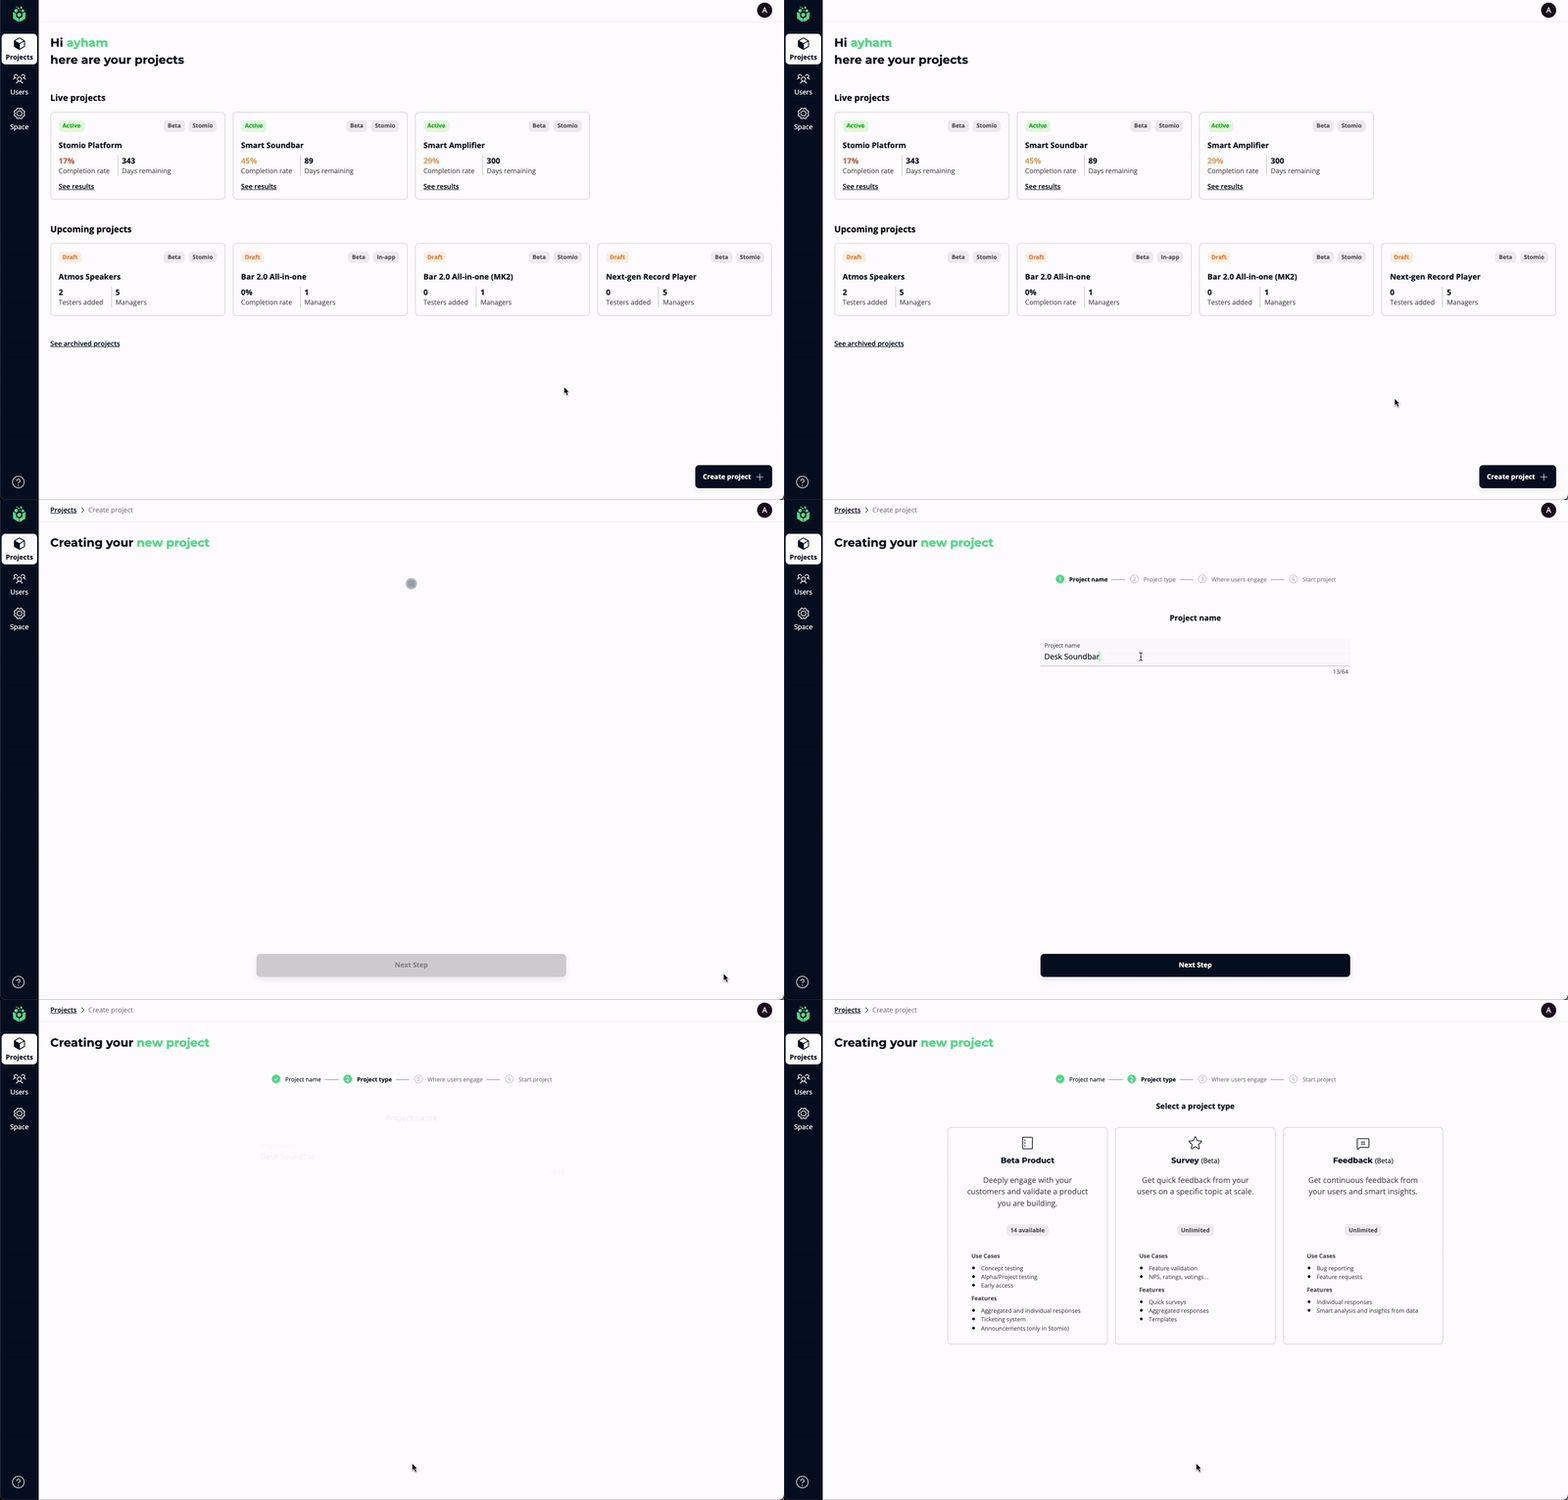
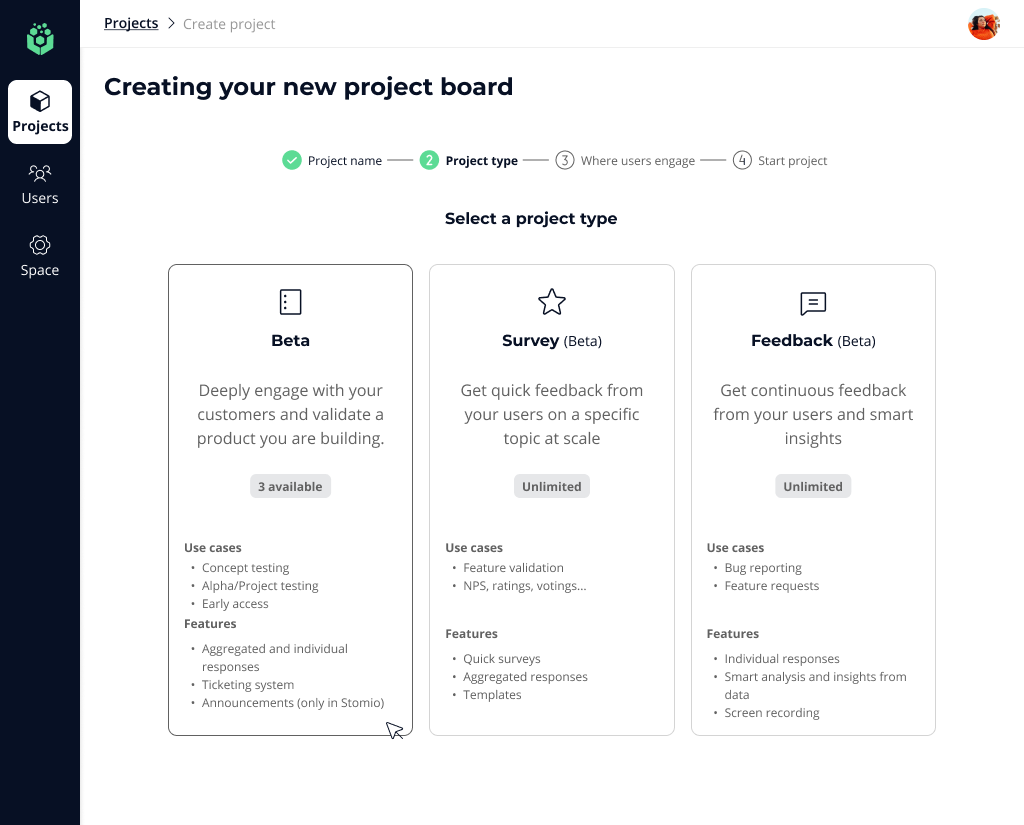
2. Choose Beta Project type to engage and validate the product you are building before launch.
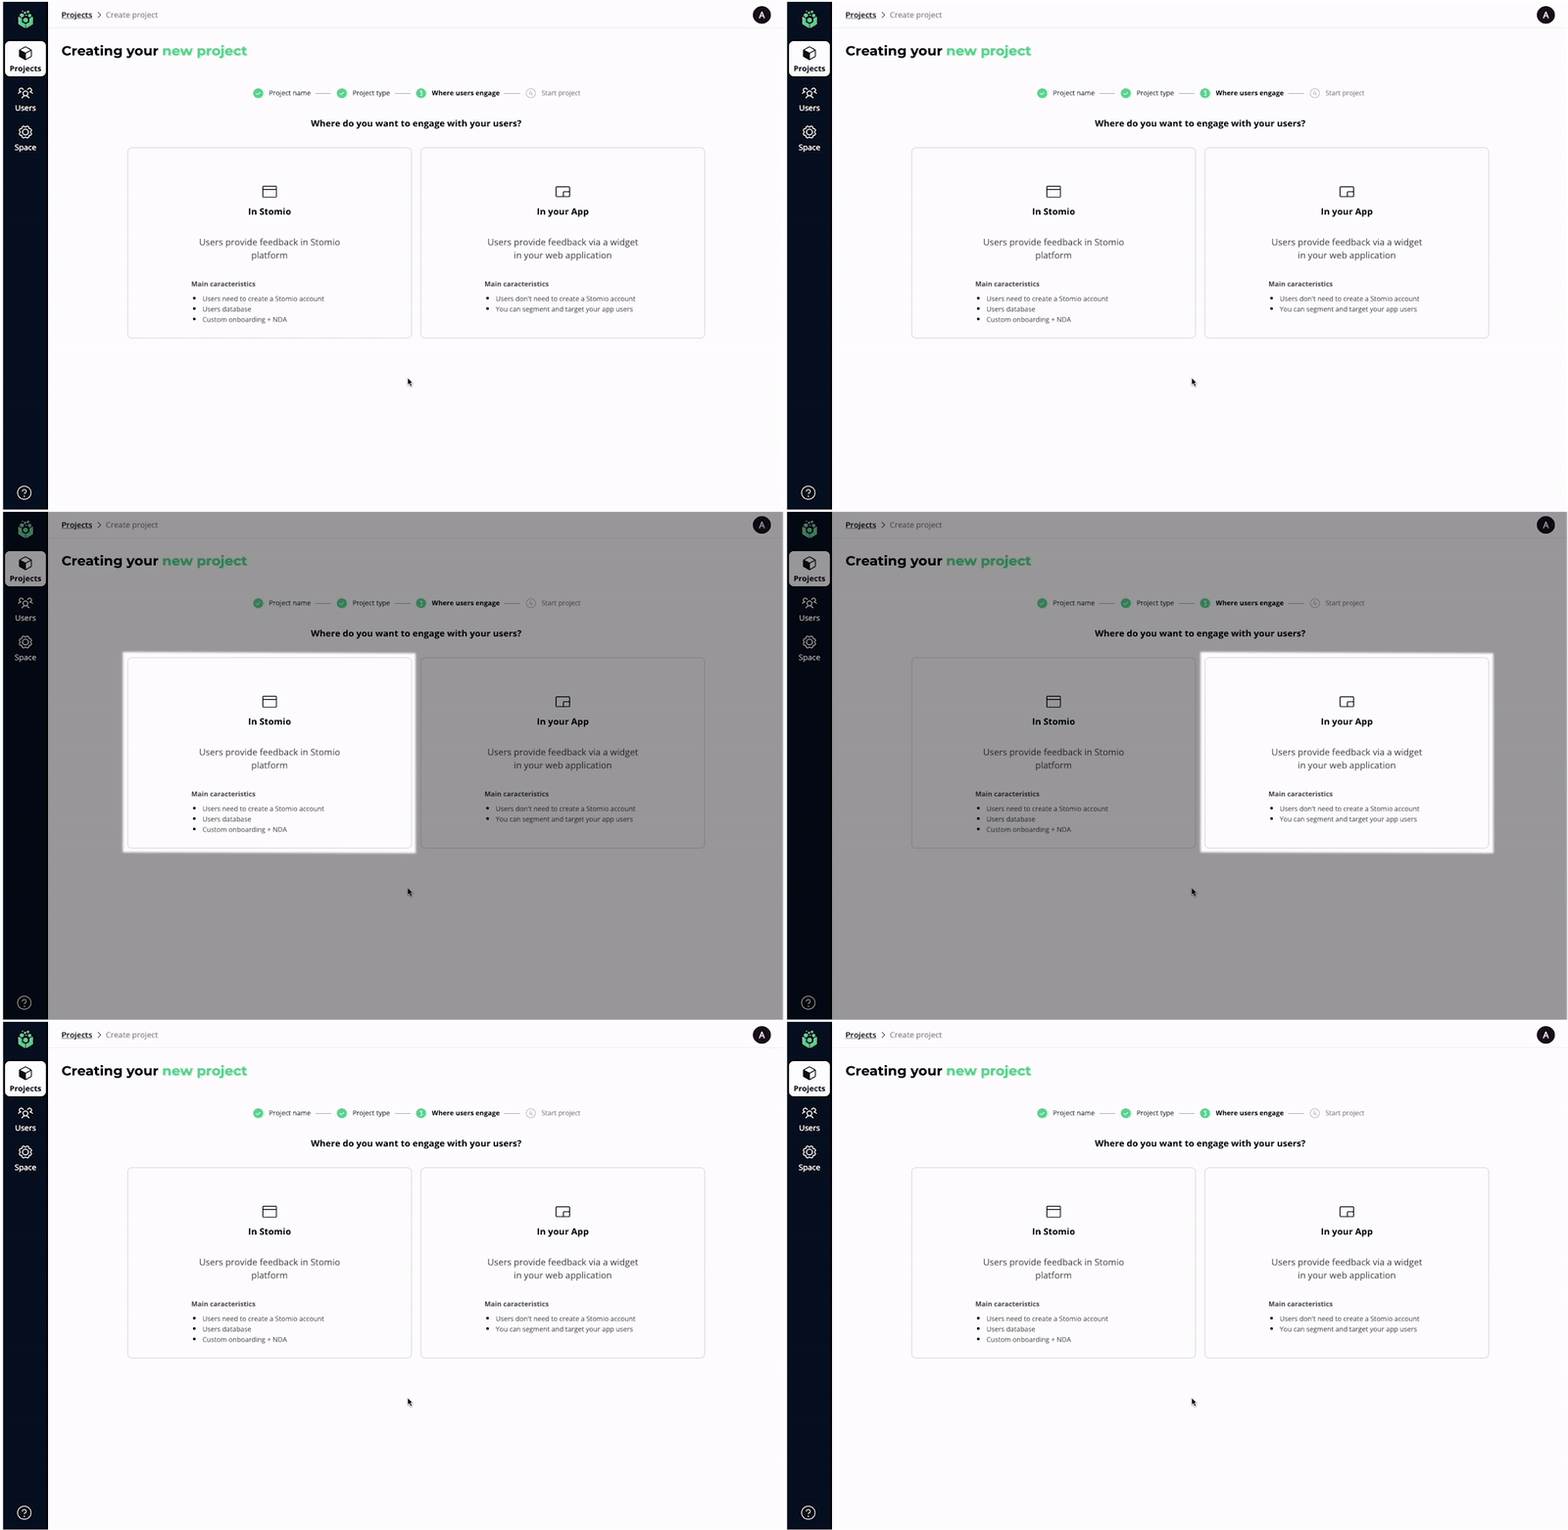
3. Choose where to engage with your users.
We want to help you engage with your users by meeting them where they are in their product journey.
- Stomio gives you the option of using Stomio responsive platform, as a companion to drive user feedback submission.
- Also, you can engage with your users via Stomio widget in your web application for a frictionless experience without leaving your app.
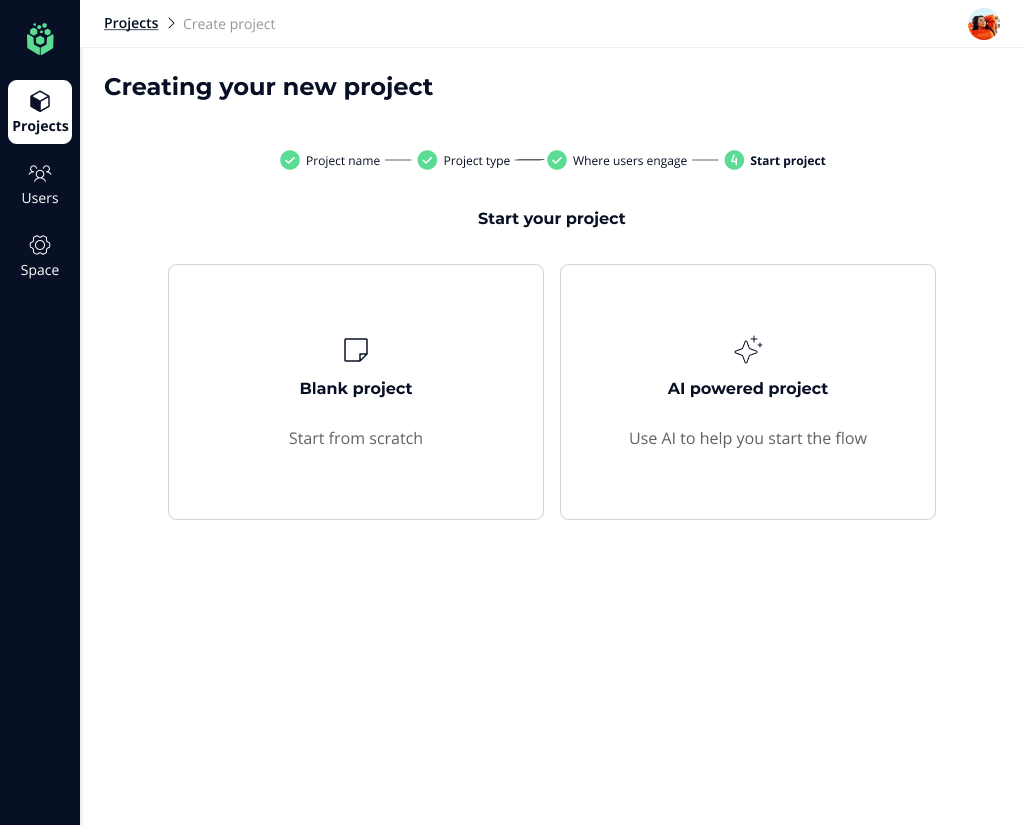
4. Start your project
Start your project by selecting Blank Project or AI powered Project. You can use our library of templates, simply build from scratch or utilize help from AI to build a highly impactful voice of customer project is launched in minutes not days.
Build the Project
Building projects quickly is vital for product teams because it accelerates feedback loops.
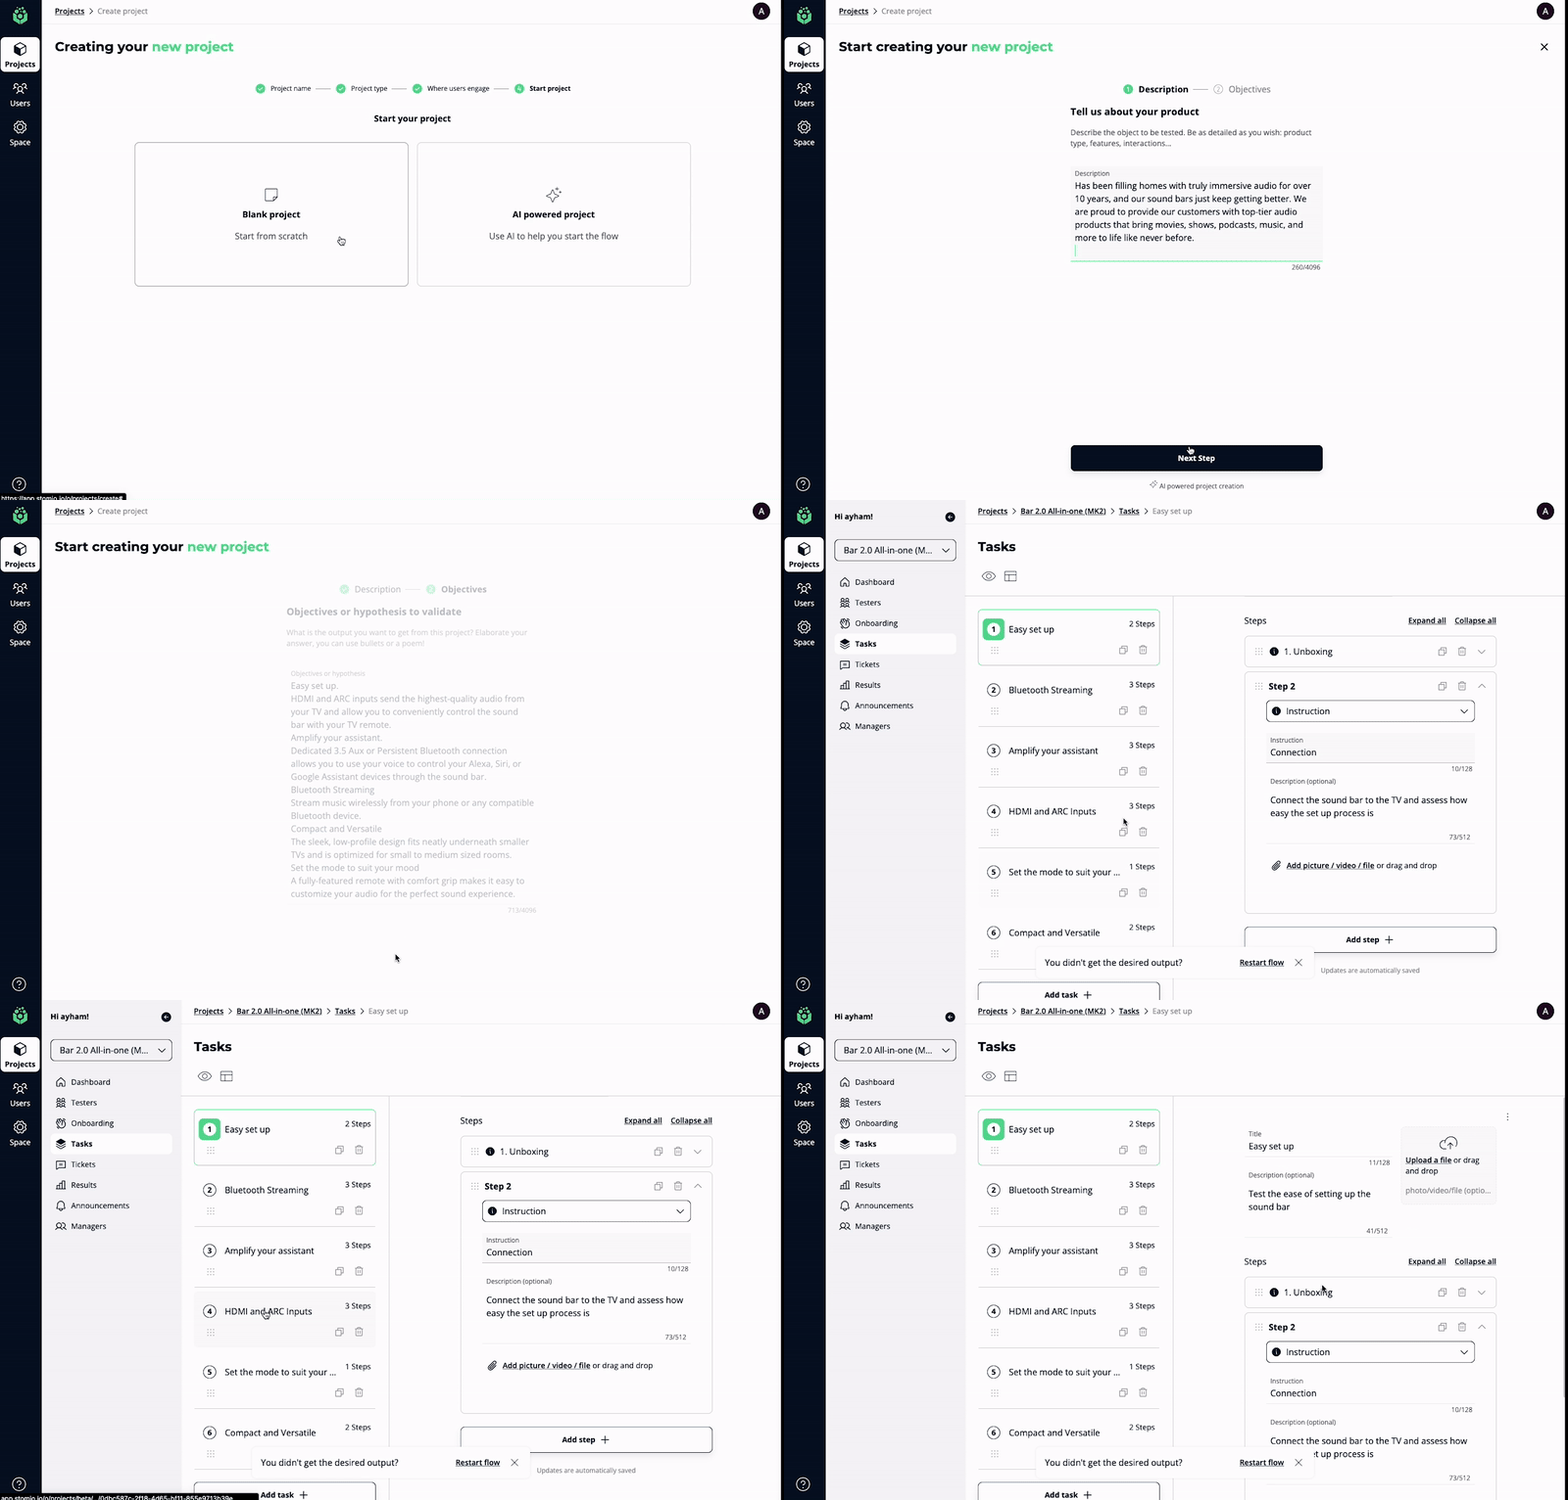
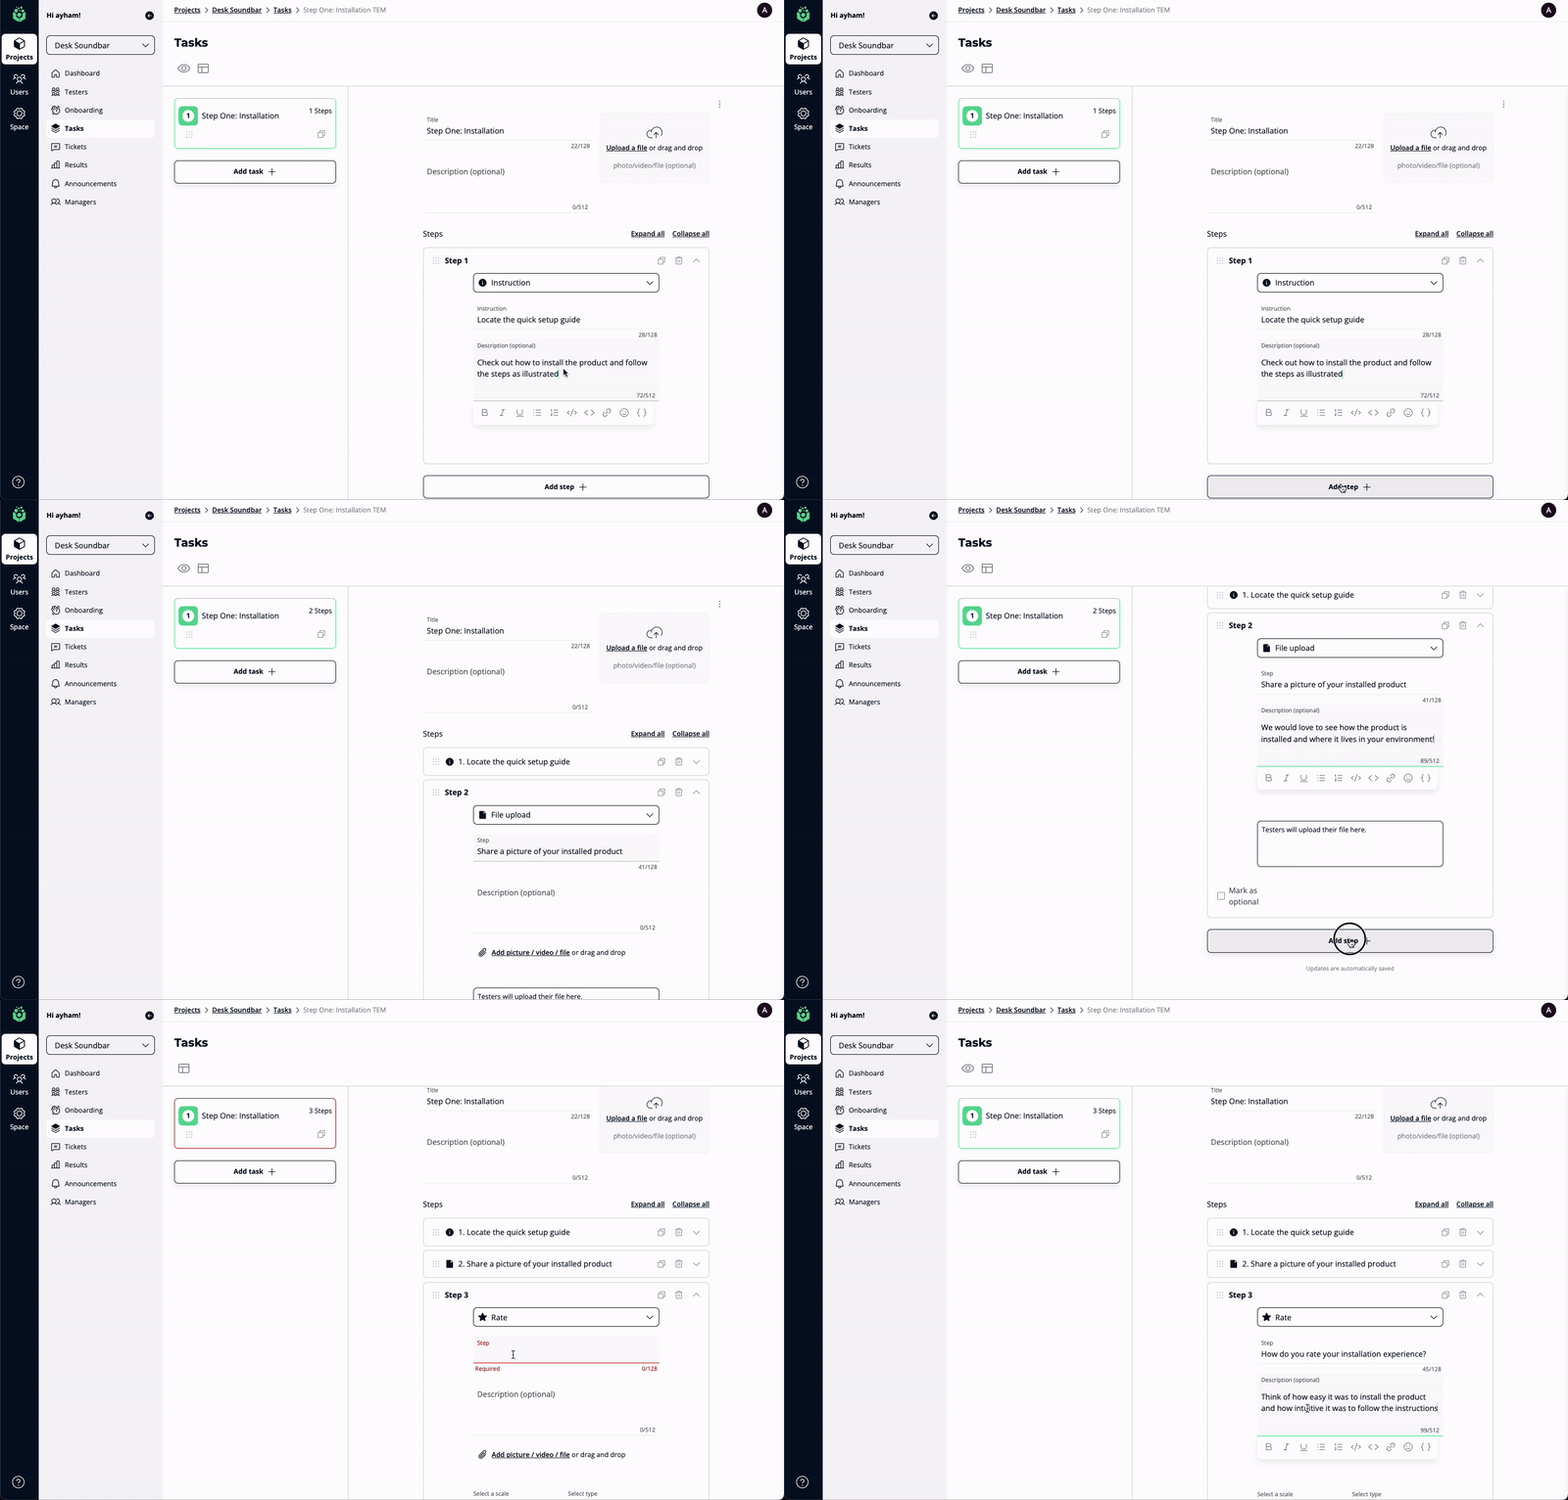
- You can build your project by using our AI-powered task creation assistant. Enter a description of your product and a list of objectives you want to achieve. Stomio AI will generate a flow. Do final modifications to your needs and start your project!
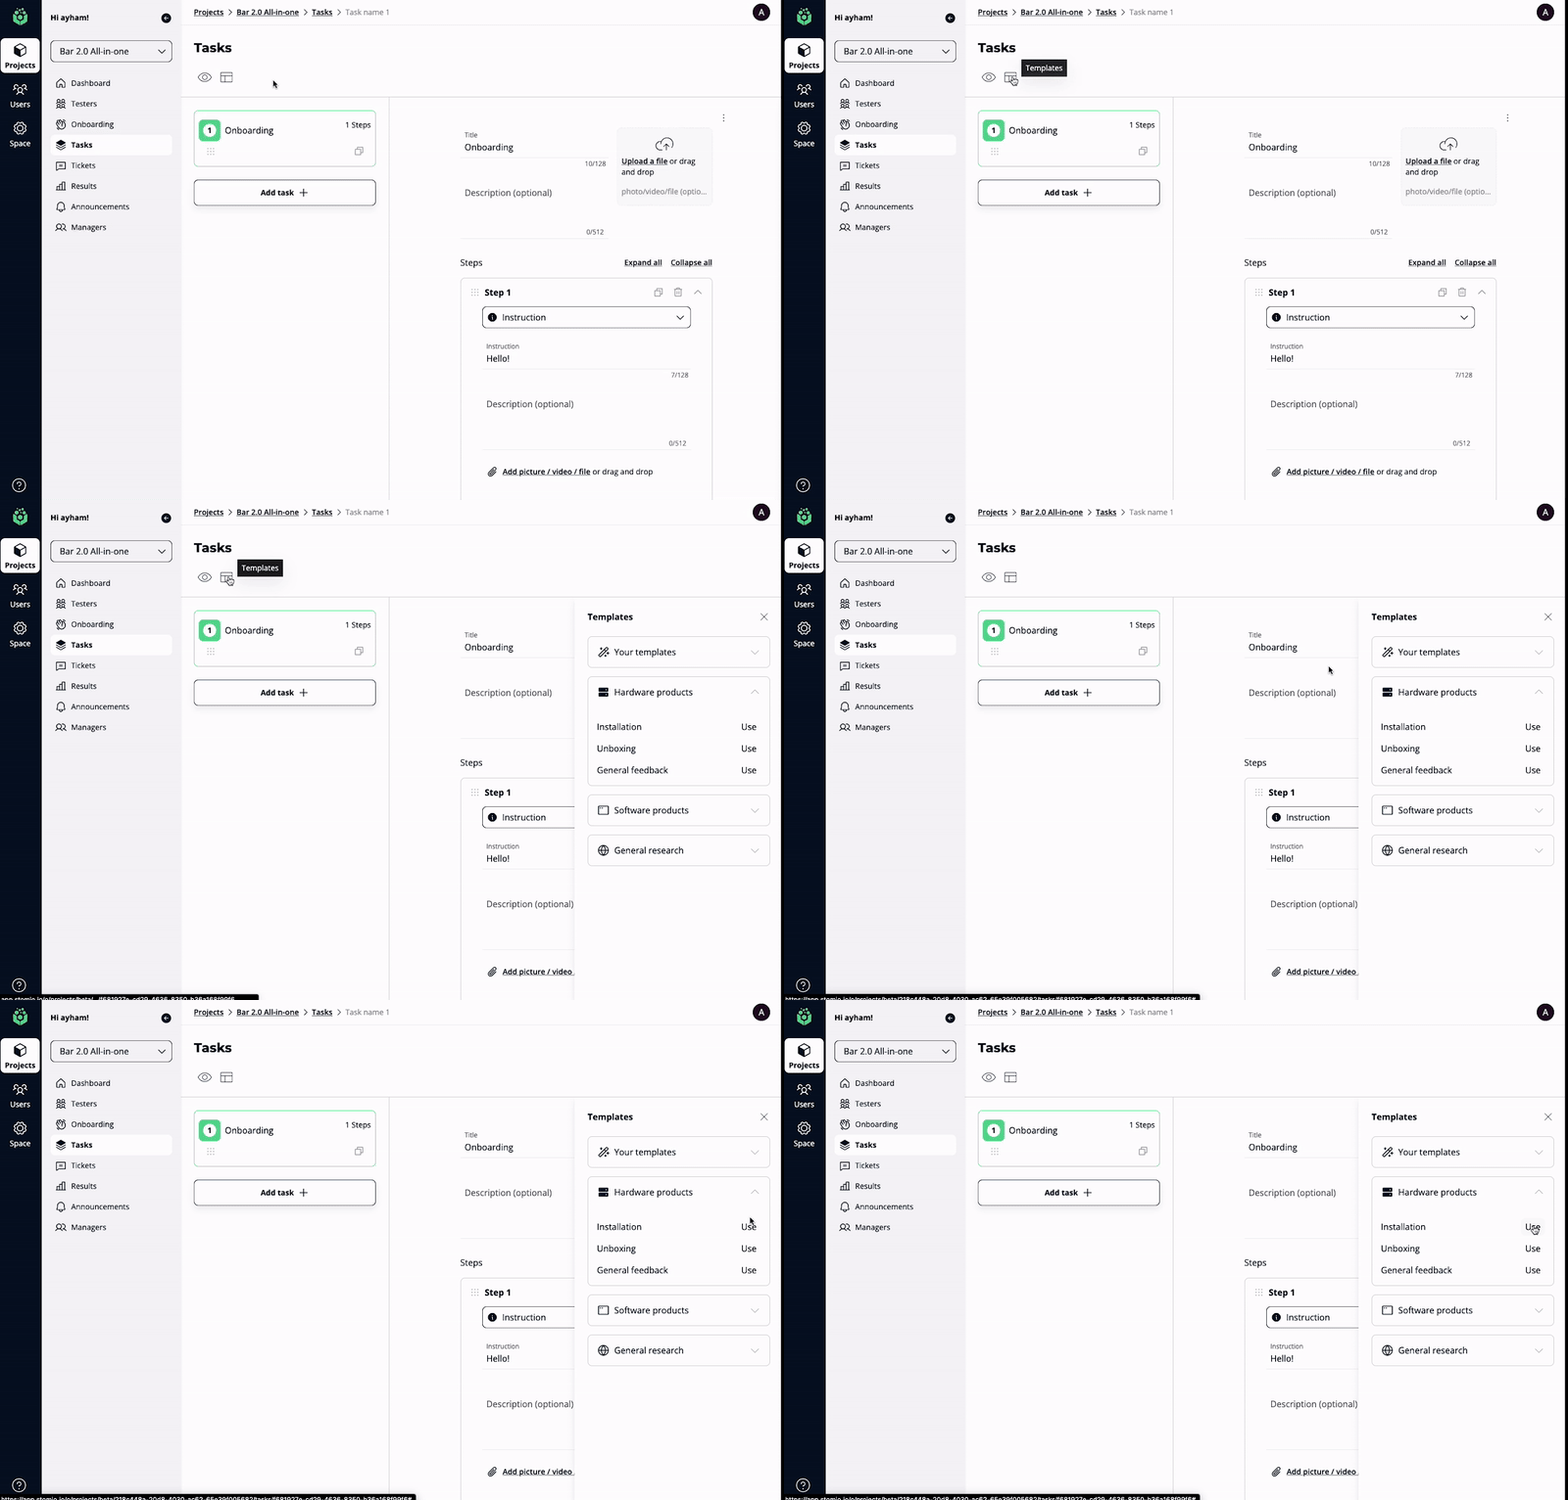
- You can also save time by using our library of ready-to-use templates that fit your specific needs. Or create your own customized templates so you can re-use them as many times you need and save time and effort in future projects.
- Building from scratch or jump start your flow with our intuitive and user-friendly task creation flow.
Beta stages
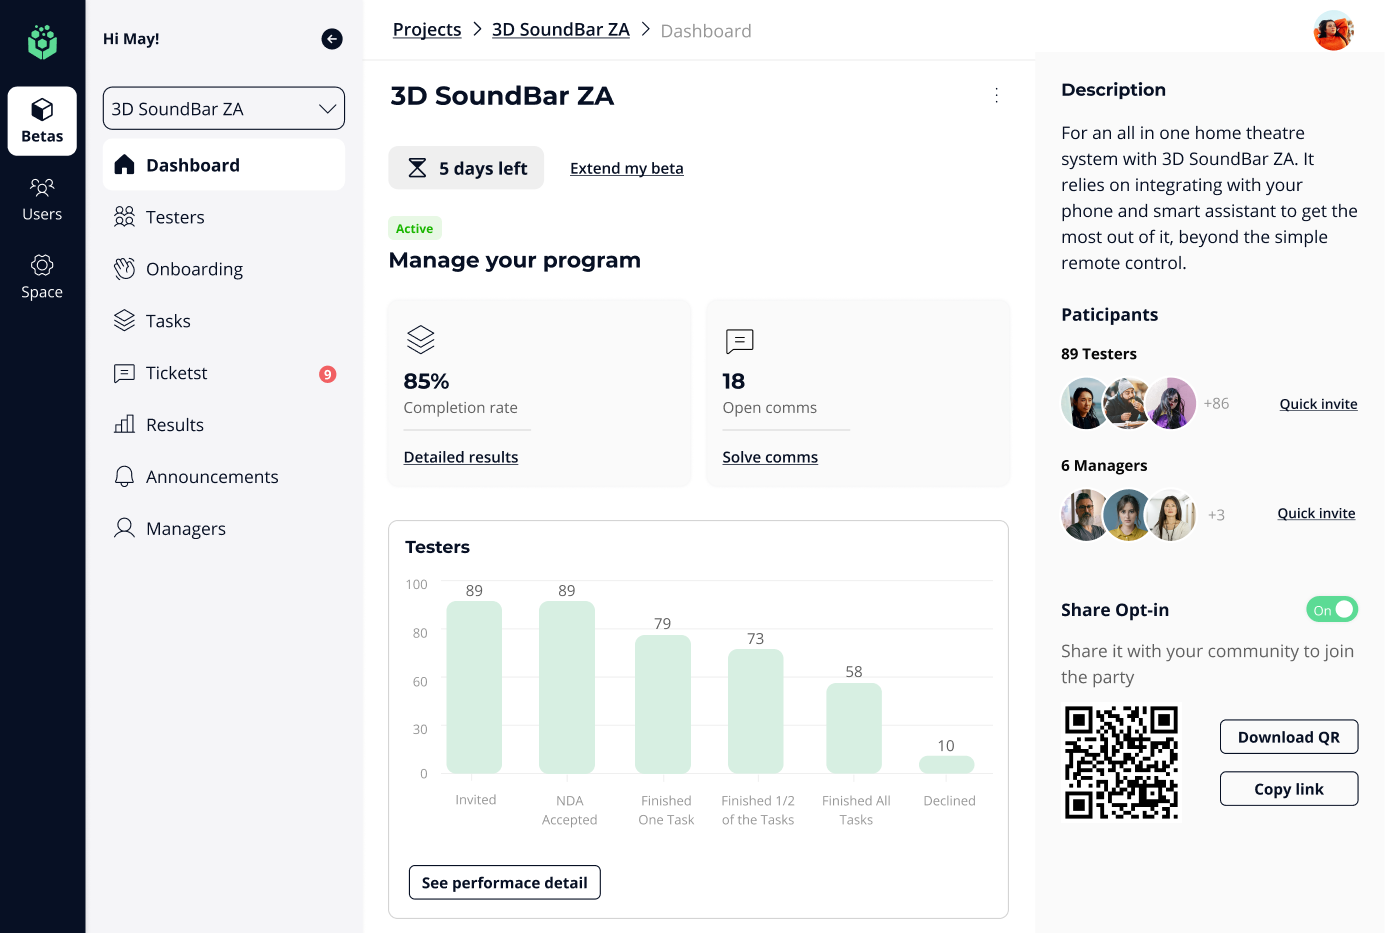
When creating a new beta, there are 3 consecutive stages:
- Draft: In this stage, you can collaborate with your teammates around creating instructions for your testers using tasks.
You can also start adding testers to the beta but they will not receive invitations yet. This helps you plan your beta units distribution if you are running a limited number of units program.
- Published: when you publish your beta, your testers get invited to the beta. They will only be able to see the beta, and read announcements during this stage. You can still add more testers to your published beta.
- Active: when you have everything ready, launch your beta so your testers start executing on the tasks assigned to them and reporting issues. You can still add more testers at this stage and they will see their tasks immediately.
Setting an accurate target end date for the beta is important at this stage so your testers understand the time remaining to finish their tasks.
Pro Tip - Use announcements to keep your testers motivated and communicate important updates such as firmware updates.
Add teammates and testers to your Beta Project
- Invite teammates to your beta. You can collaborate with your teammates during the setup time (optional).
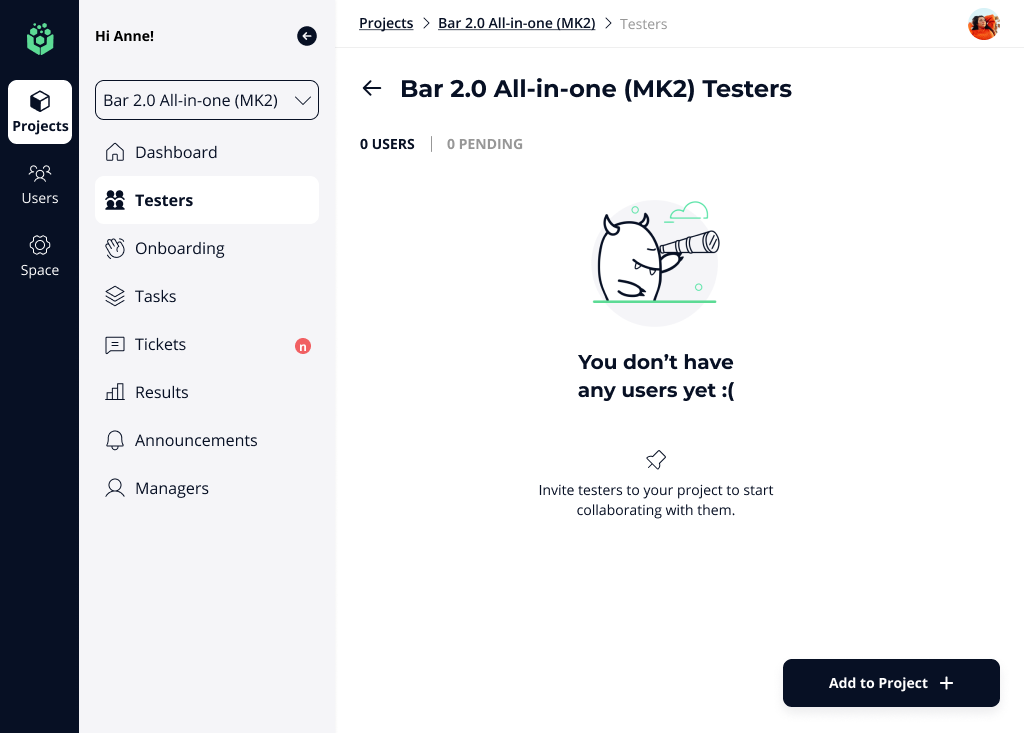
- Invite testers to your beta. Adding testers to your beta when in draft mode will NOT result in any action on the tester side. See more in the 3 stages of beta next.
