Learn how to seamlessly integrate bug tracking in Stomio with GitHub by setting up an automated process that creates a GitHub issue every time a bug is opened in Stomio. This efficient workflow ensures timely issue tracking and resolution, enhancing collaboration between development and QA teams.
If you don’t have Zapier integrated with Stomio go to our previous How-to Integrate Zapier into Stomio post.
1. Log in to Zapier:
- Go to Zapier.com.
- Log in to your account.
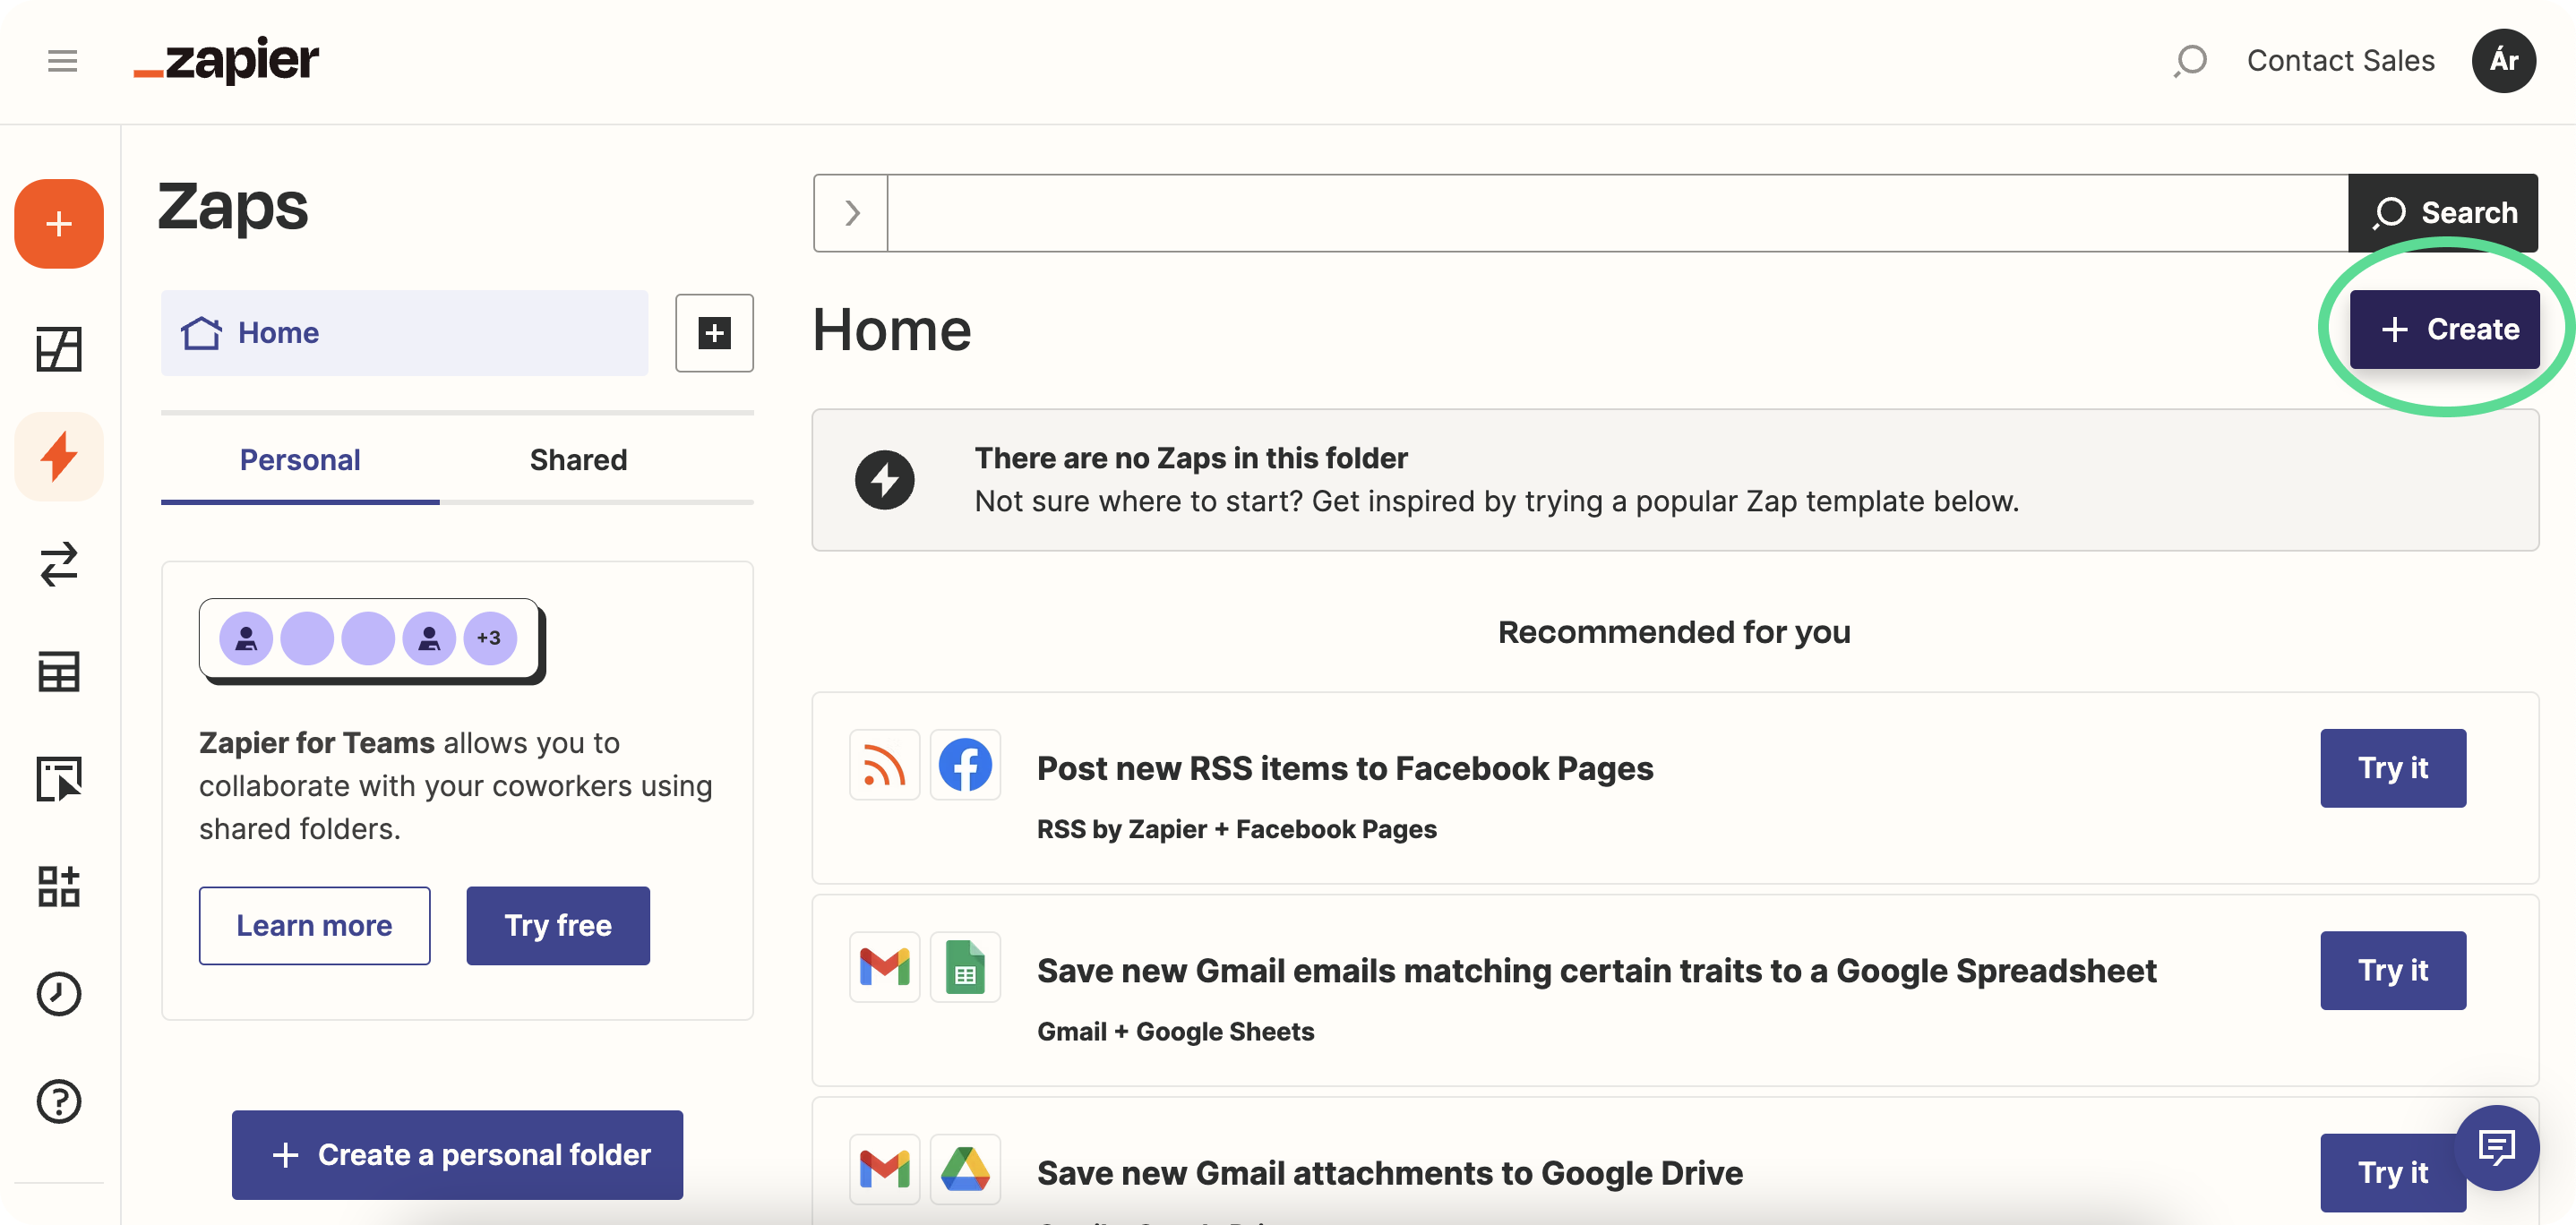
Start a New Zap:
- Click on the "Create" button in the upper right corner and select “New Zap”.
- For the Trigger App, search and select "Stomio".
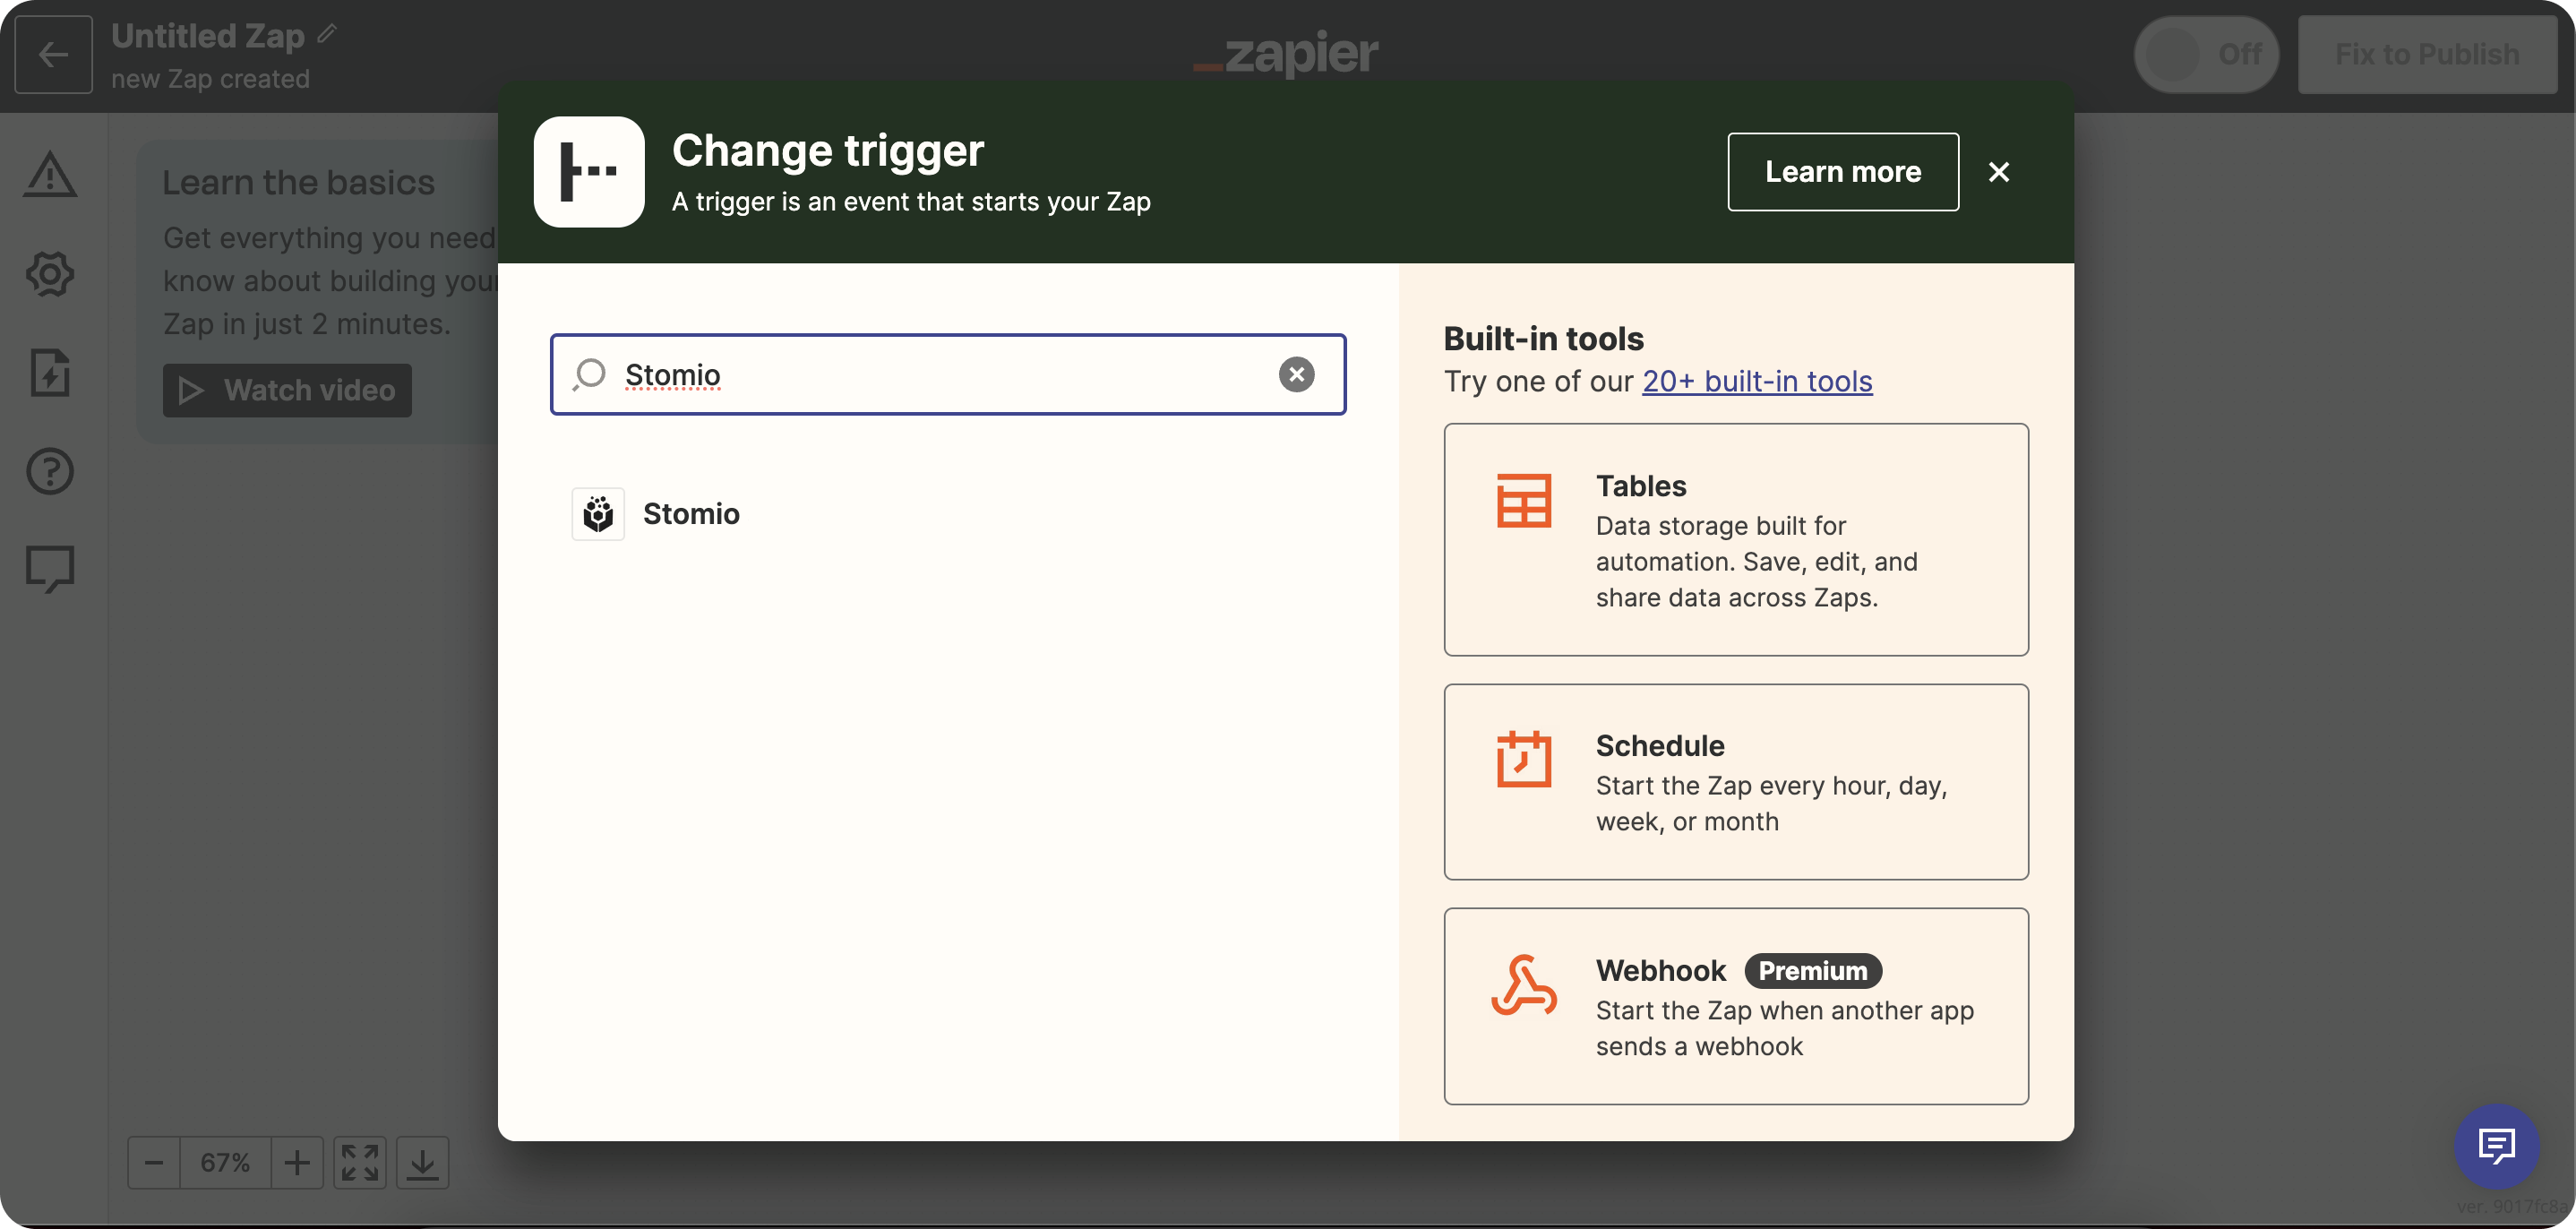
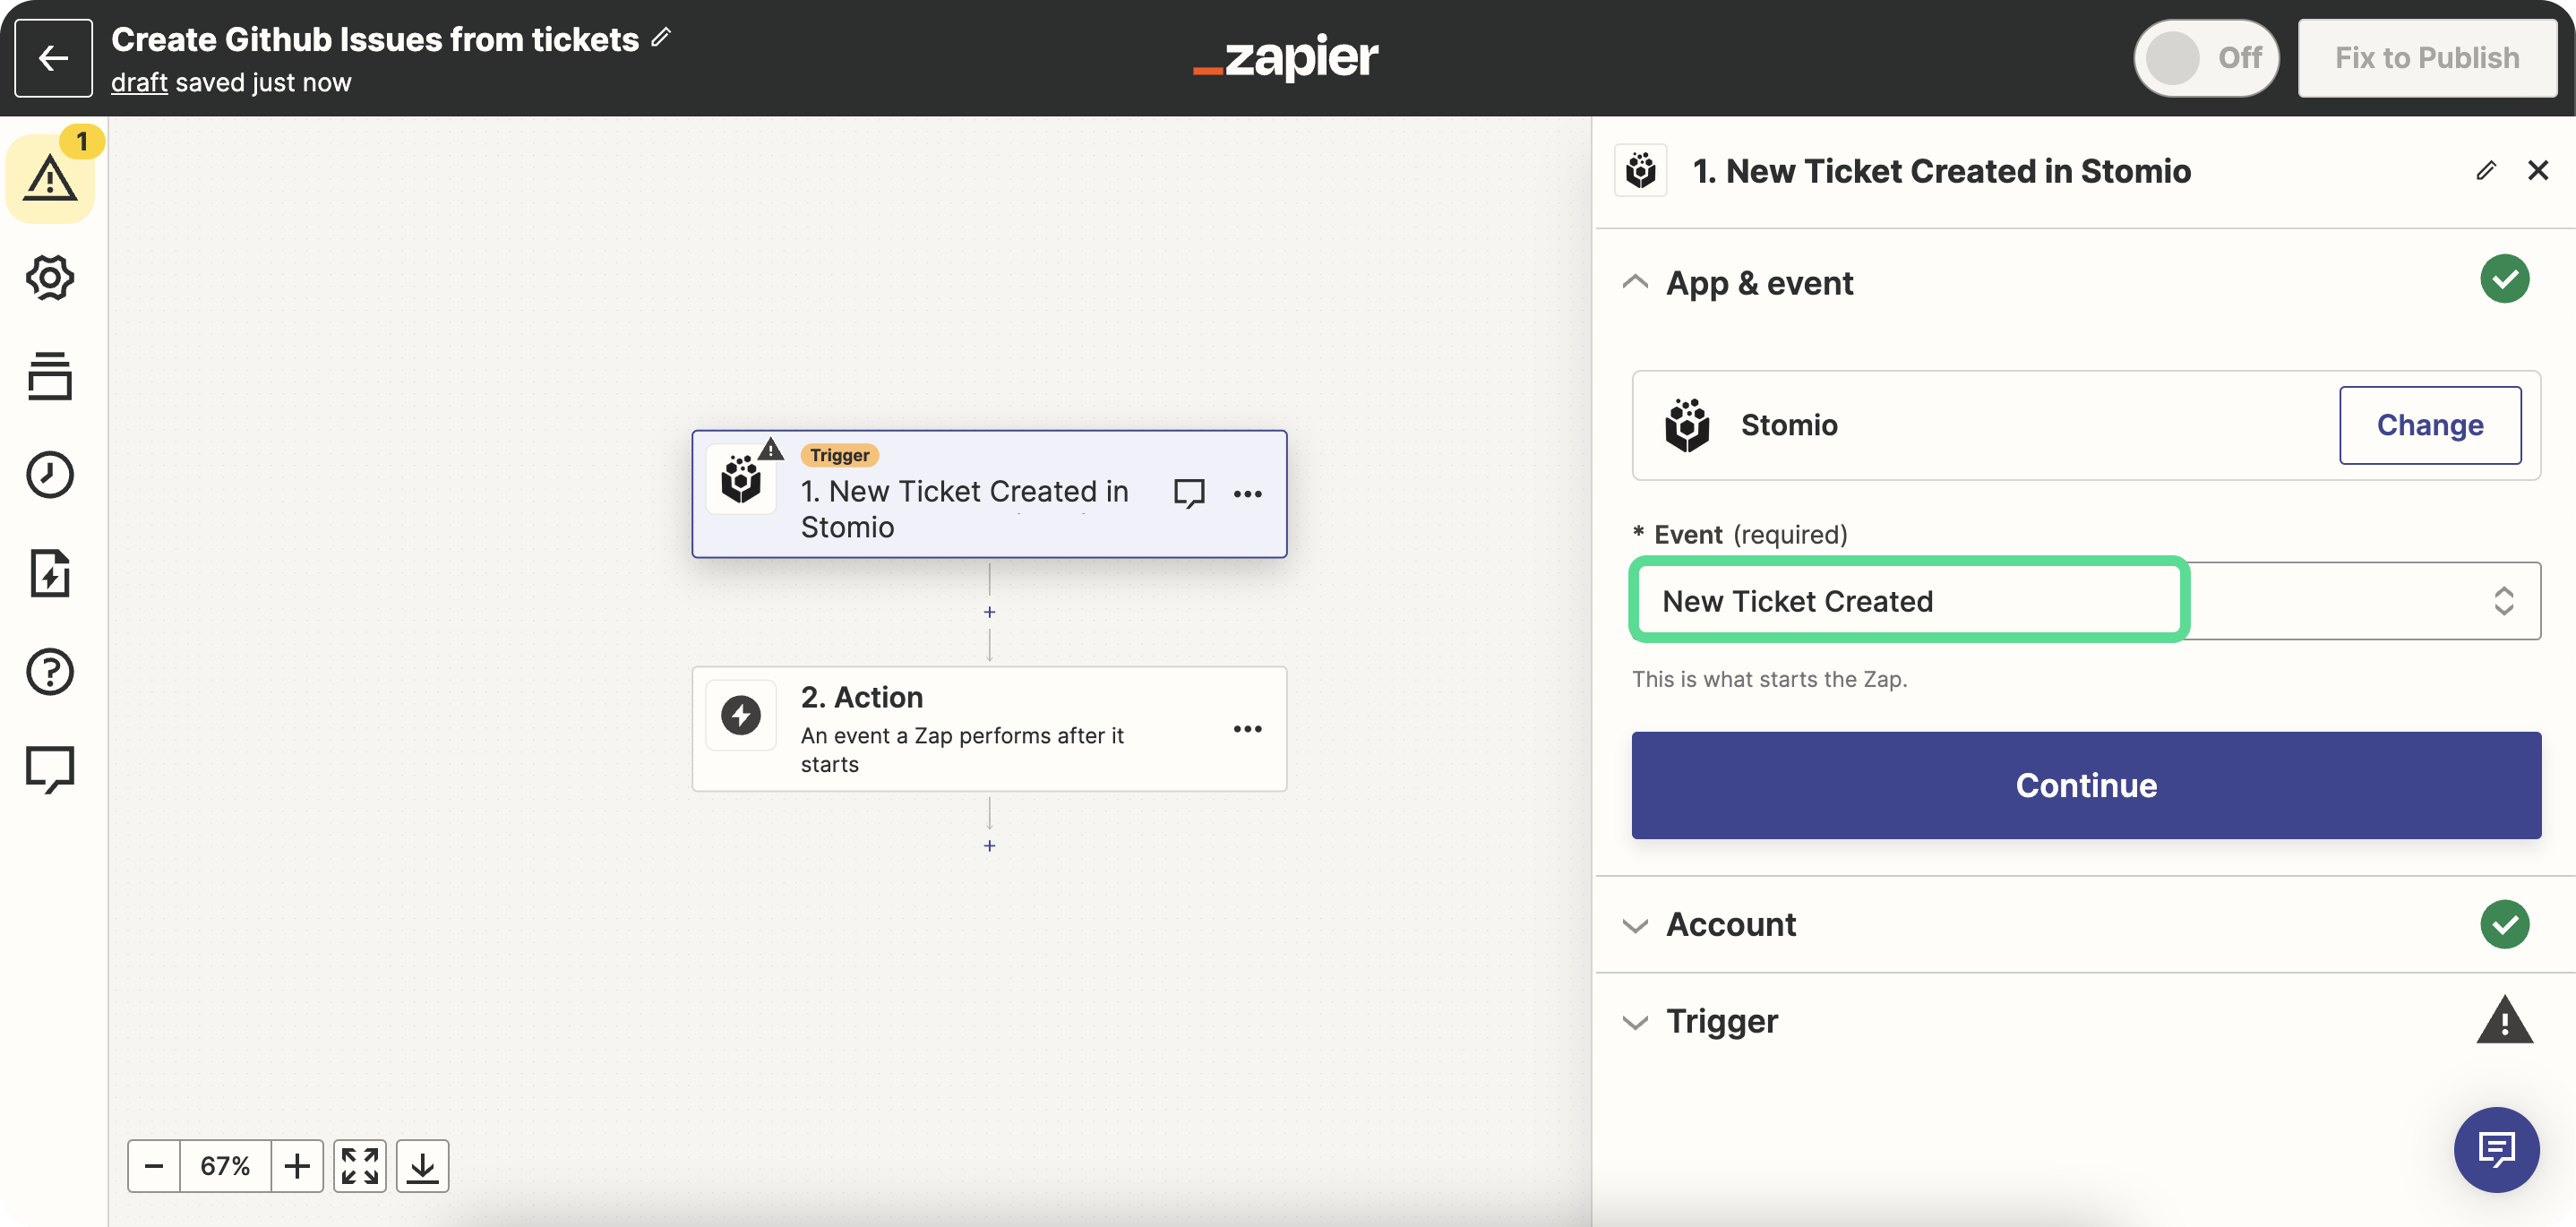
- Choose the trigger event "New ticket created".
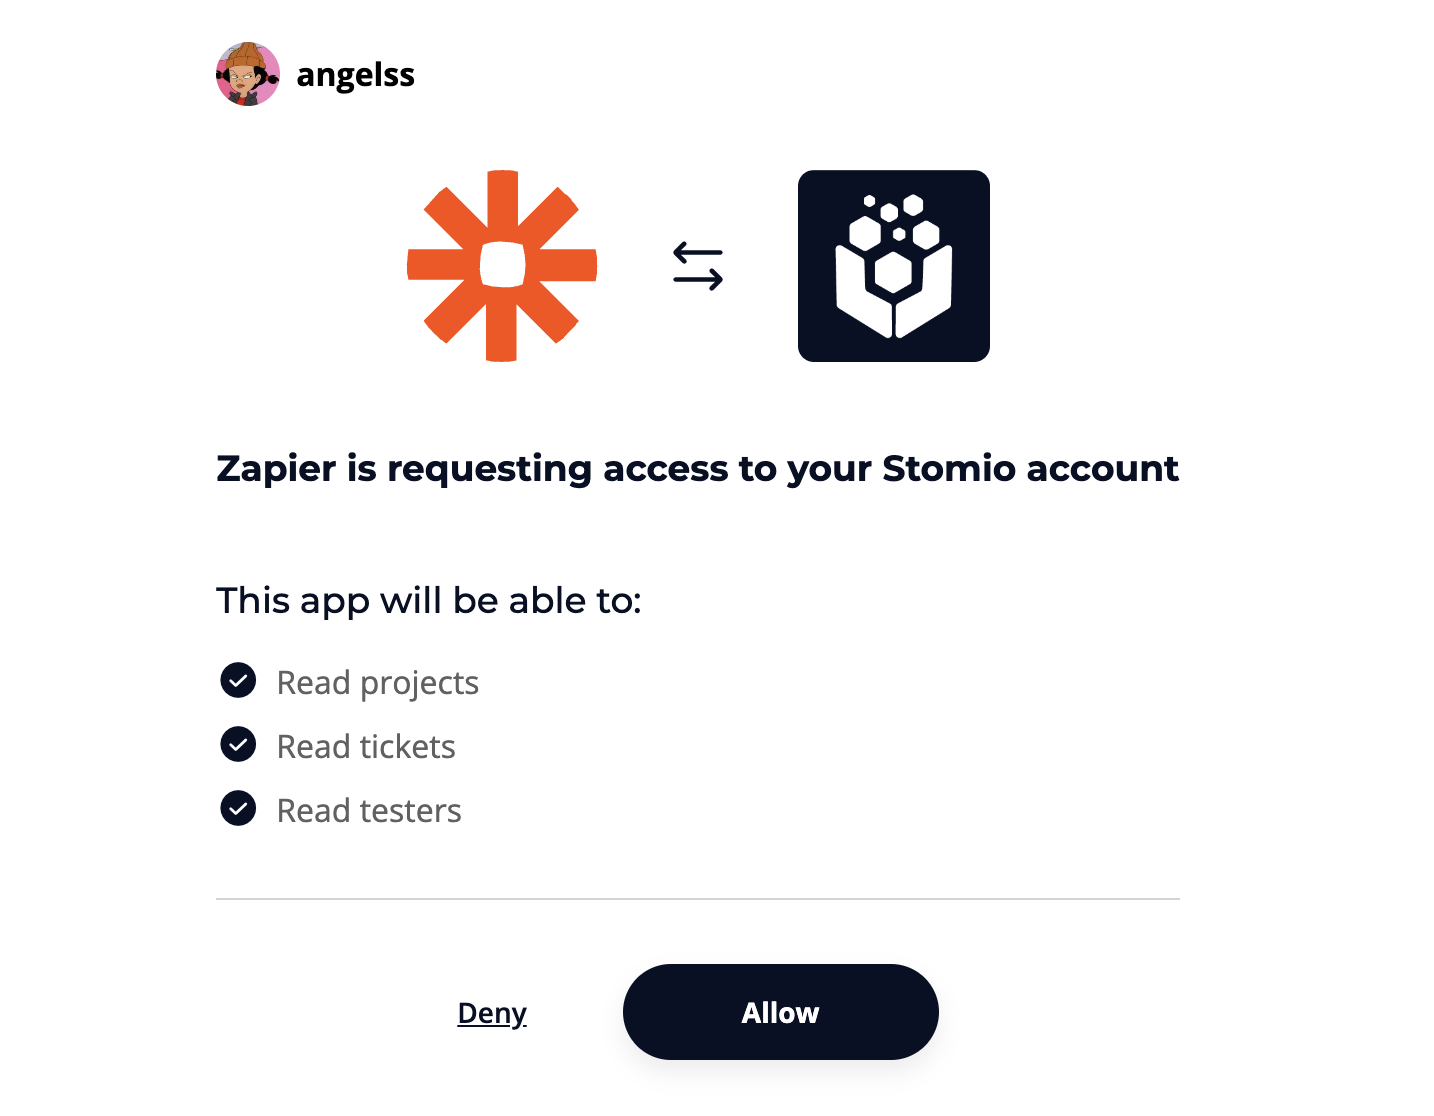
- Connect your Stomio account to Zapier.
- Follow the prompts to authenticate and allow Zapier to access your Stomio data.
- Test the trigger to ensure it's pulling the correct data from Stomio. Select first the Organization and Project you want to apply this Zap.
- For the Action App, search and select "GitHub".
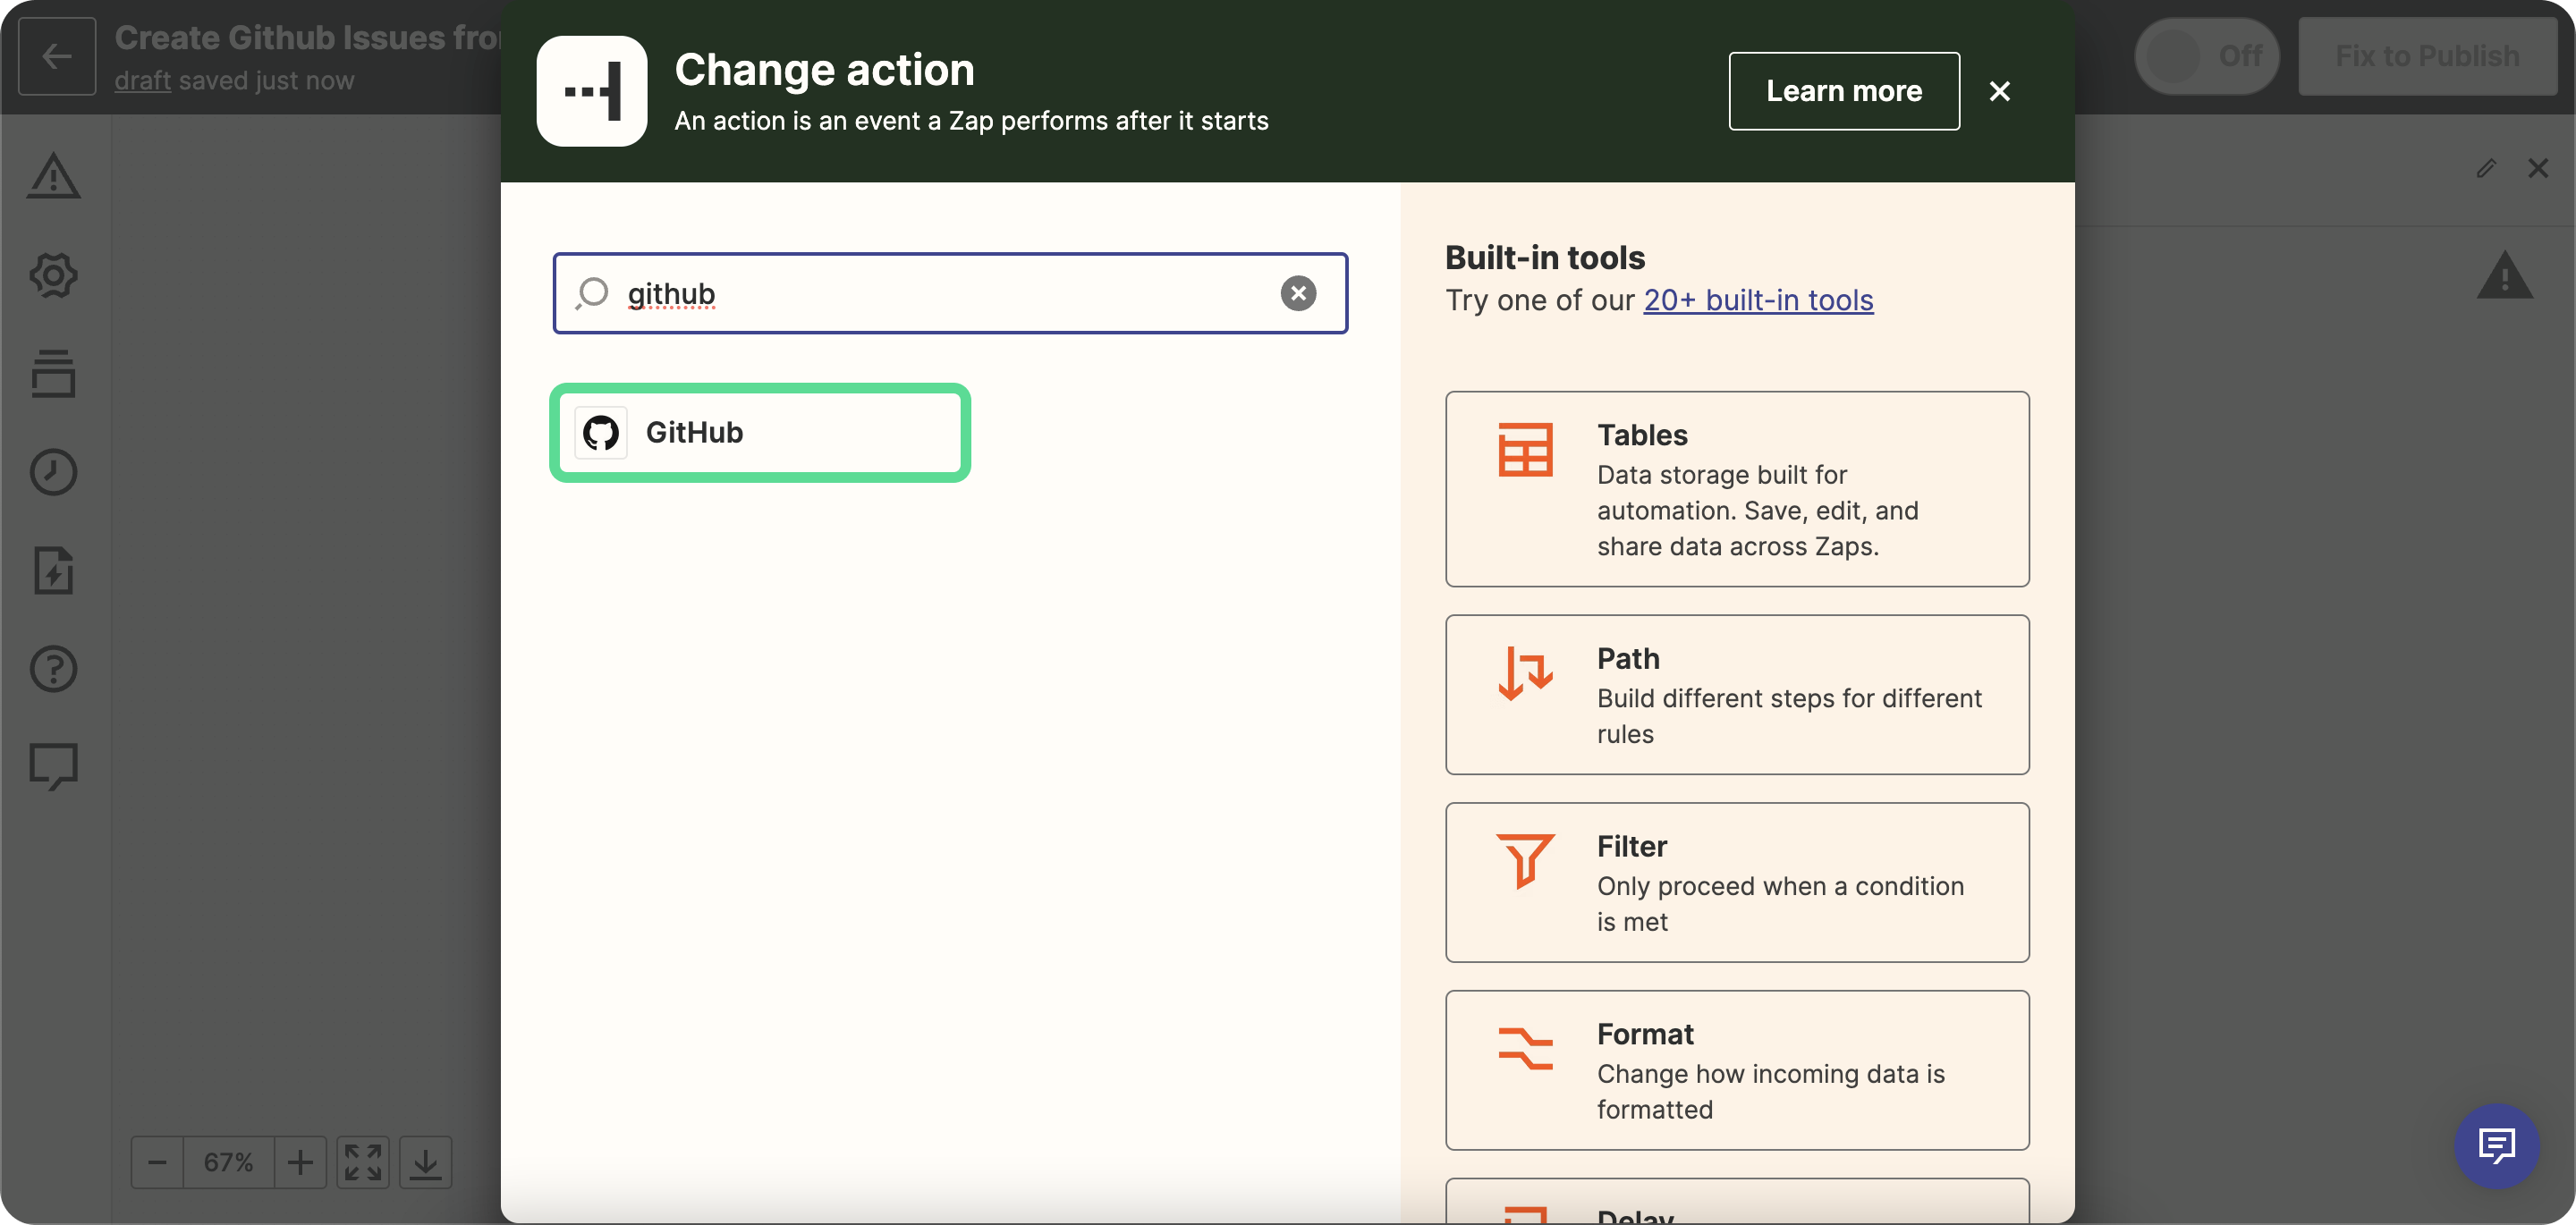
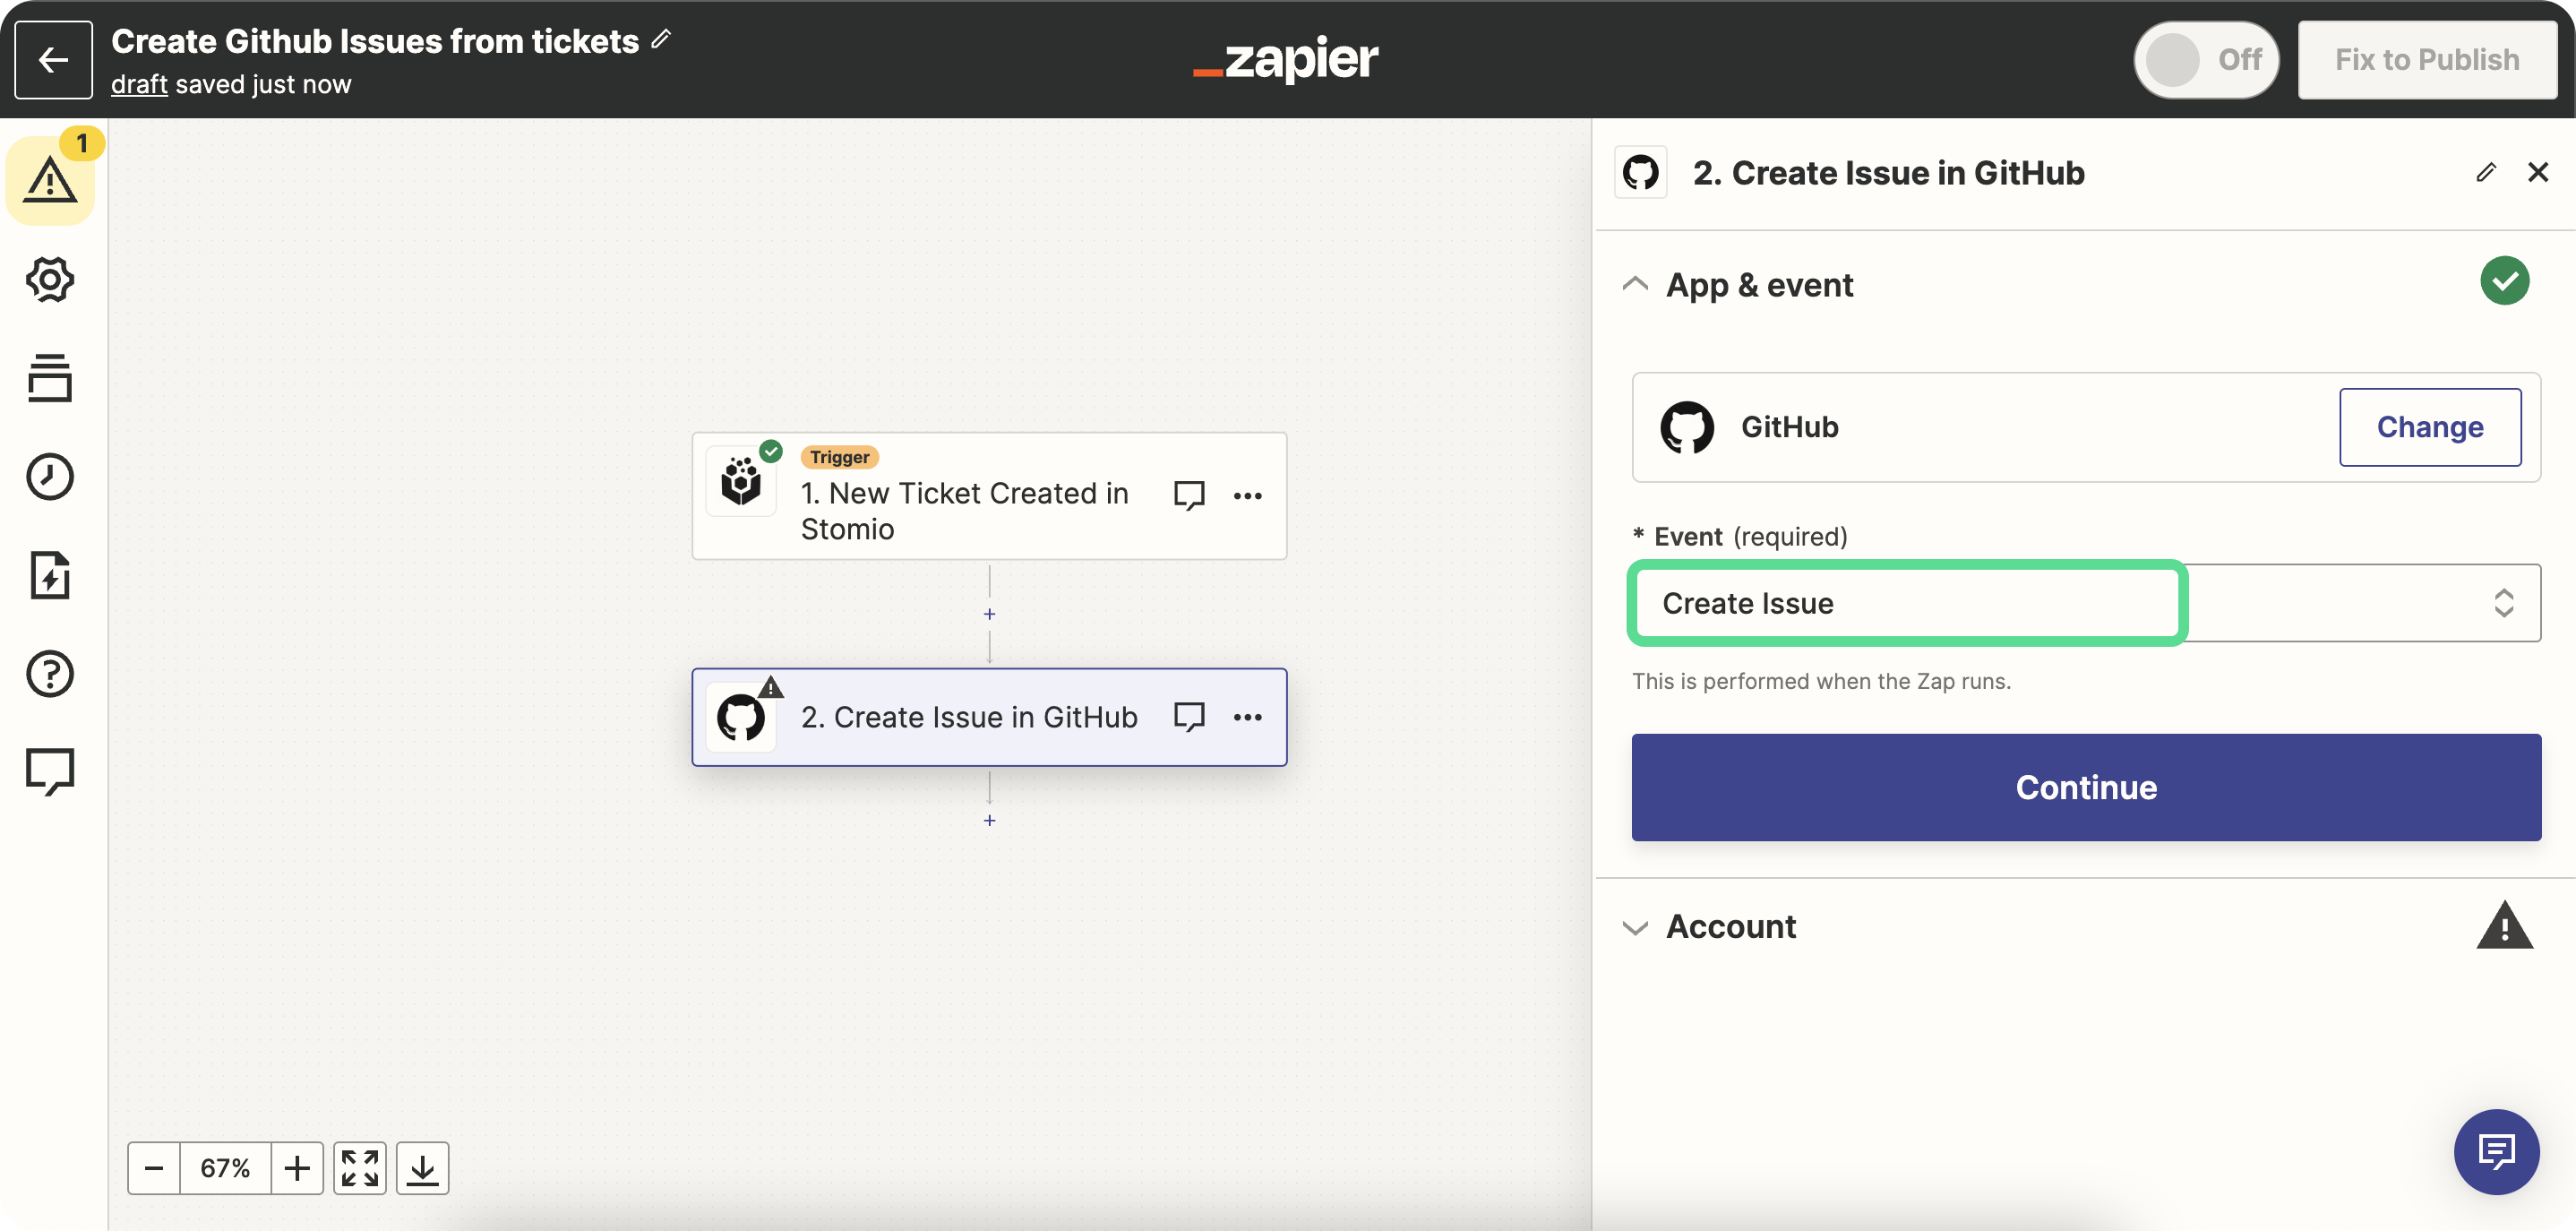
- Choose the action event "Create Issue".
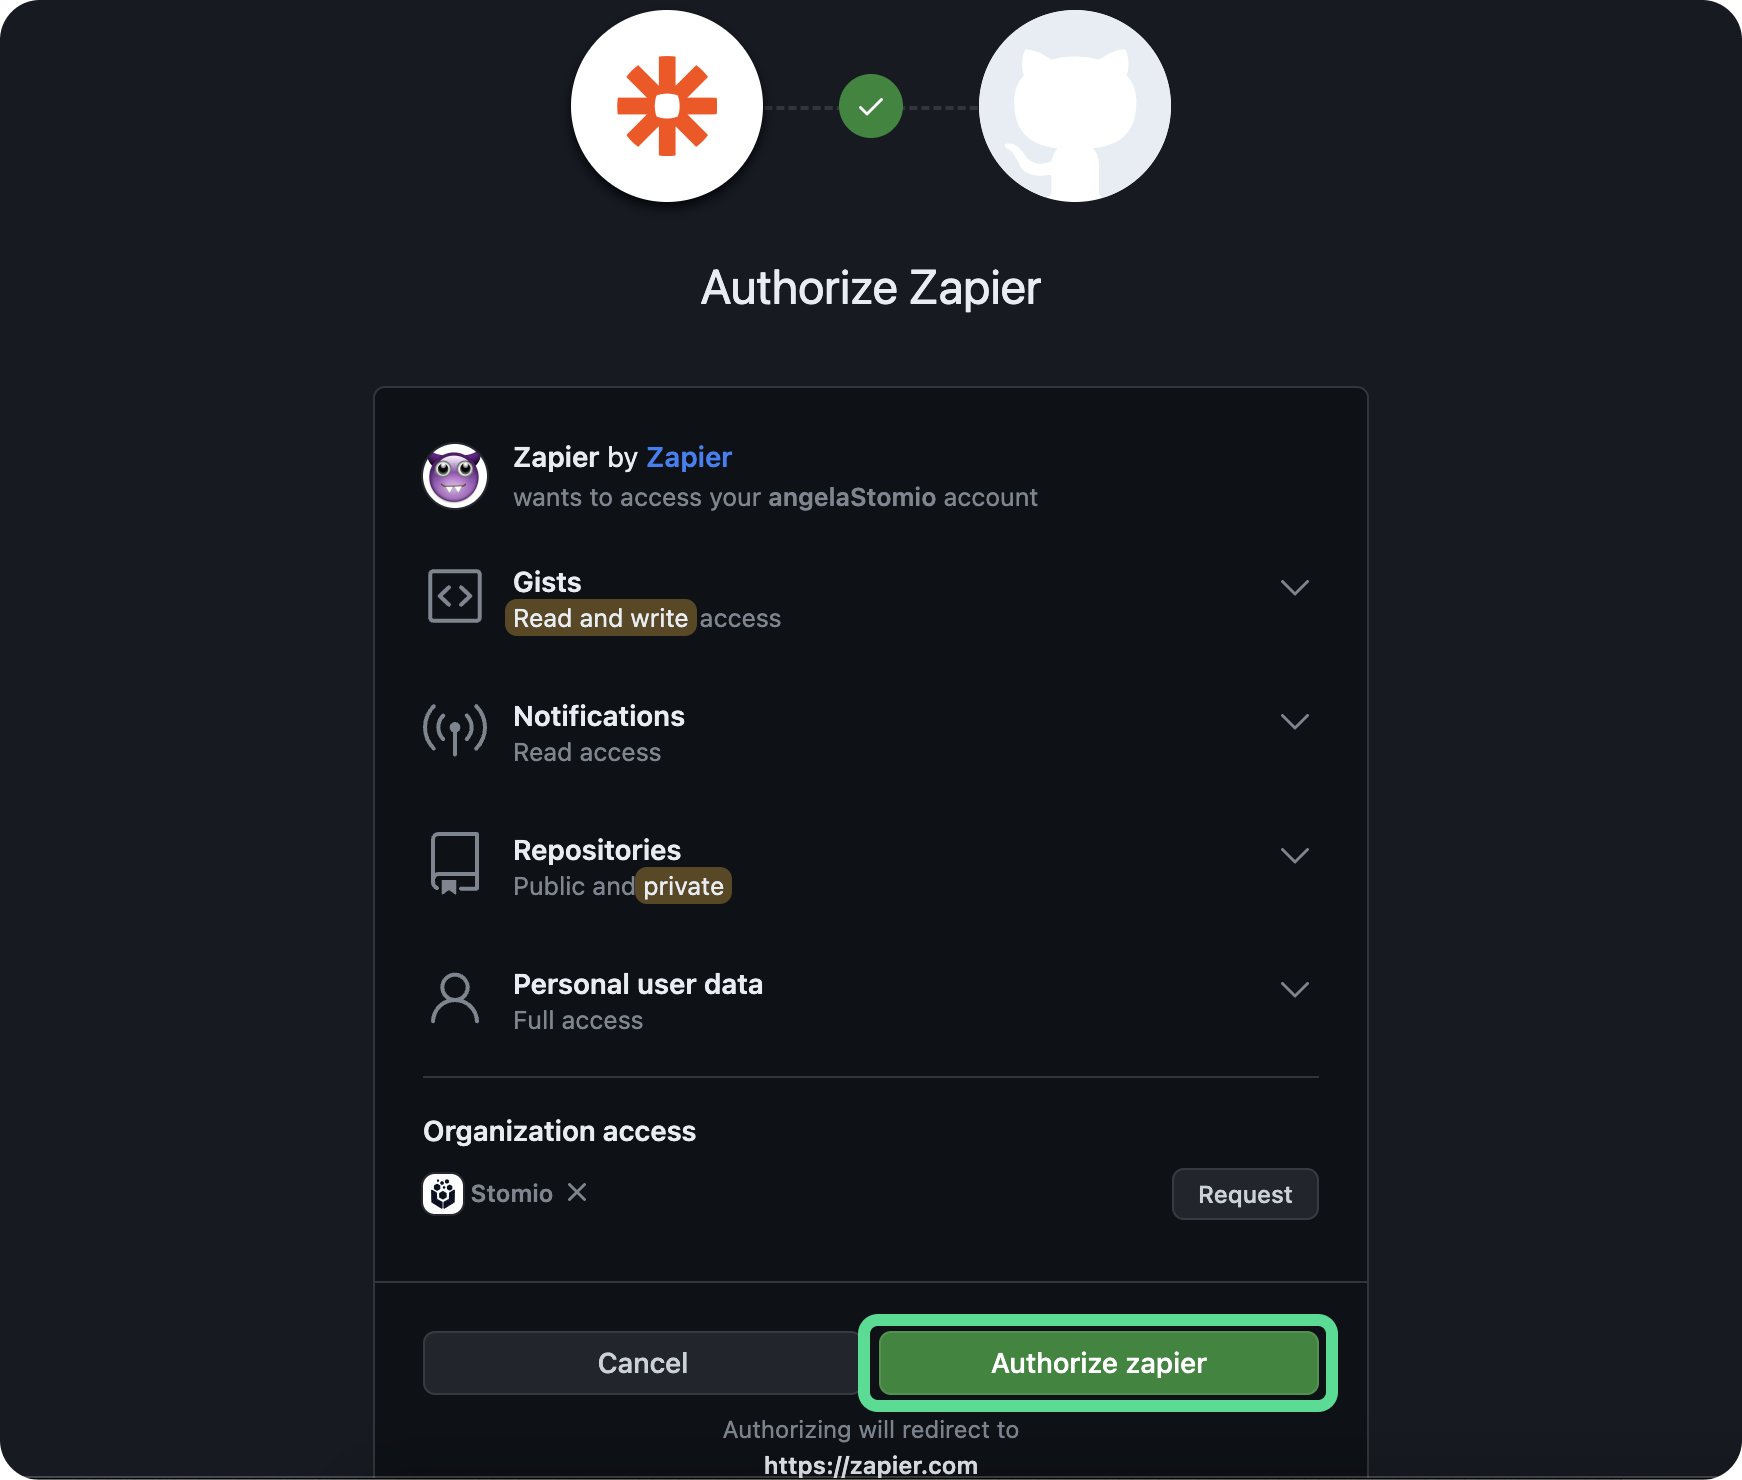
- Connect your Github account to Zapier.
- Follow the prompts to authenticate and allow Zapier to do some actions on your behalf.
- Select the repo that applies
- Set a title, we recommend to use “Title” from Stomio.
- You can include a lot more information by default if you like as body, milestone, assignee and labels. This is no required.
- Test the action to ensure it sends the email correctly.
- Review your Zap settings to ensure everything is configured correctly.
- Turn on your Zap.
Now, your Zap is live and will automatically send an email to your teammates whenever a user completes a project in Stomio. Make sure to customize the email content and recipient list according to your specific needs.
Got a question or suggestion? Reach out to us: hello@stomio.io

Stomio has earned its reputation as a leading platform for gathering user feedback across...


Got a question or suggestion? Reach out to us: hello@stomio.io